# Add Your App to the AppHub
You already created your first app and installed the AppHub on your device. It is now time to add your app to the AppHub.
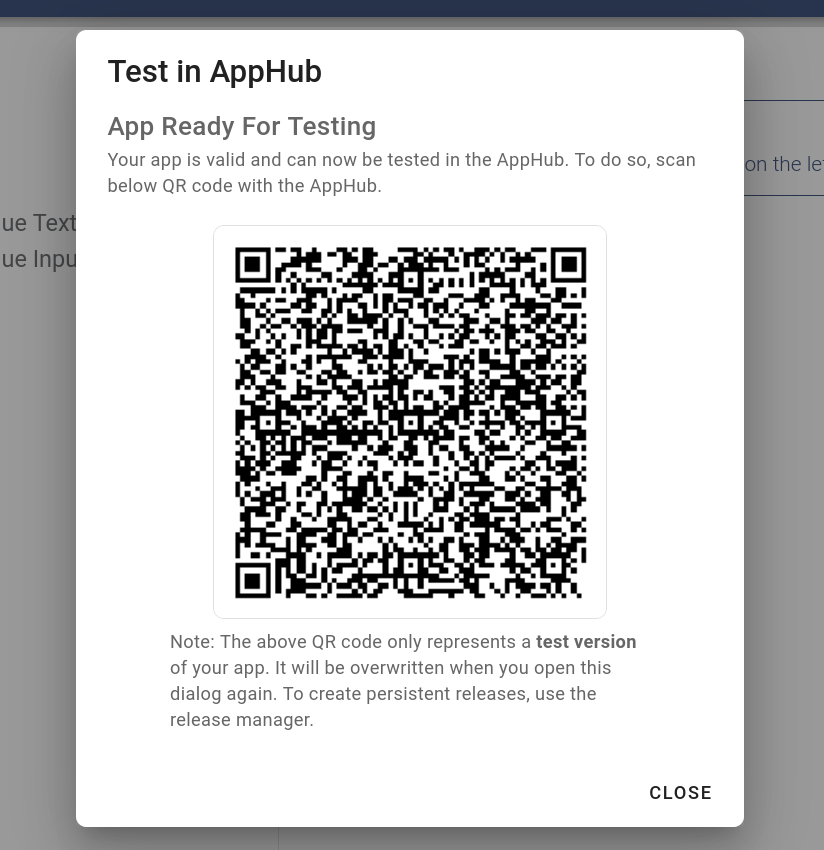
# Display the QR Code
First, you need to save your app in the AppHub by clicking on Save App () or by pressing CTRL+S. Afterwards, display your app's QR code by clicking on Test in AppHub () in the sidebar of the AppDesigner. This will create a temporary test version of your app. If you decide to officially publish your app, you can later create a permanent release of your app. This stores the complete state of the app, including all required resources, in a release bundle. More information about app releases can be found here. For now, a test version of our app is sufficient.
# Scan the QR Code
Now it is time to open the AppHub. On the first launch, a short introduction is displayed that explains the functionality of the AppHub to you. Please read the introduction.
After finishing the introduction, please click on the () button in the bottom right of the AppHub overview screen. The QR scanner should open up. Use it to scan the QR code of your app. In case your device does not have a camera, you can also add apps manually (without scanning a QR code).
After adding the app, you should see a login screen. Please use your IoTHub / AppDesigner login to authorize.
If the login was successful, your first app should now be listed in the AppHub's overview. To start the app, just click on the entry. That's it! You just created and deployed your first app!
The app you just created is very basic and does not output any live data of an IoT device. To learn more about this topic, please go to the next page of the user manual to learn about the IoTHub's concept of Things, Properties and Alarms.