# App Releases
In order to use apps in the AppHub, they must be published as releases. App releases bundle the current state of an app, including all media resources, and make it available to the AppHub. Subsequent changes to the app therefore have no influence on the release.
# Release Manager
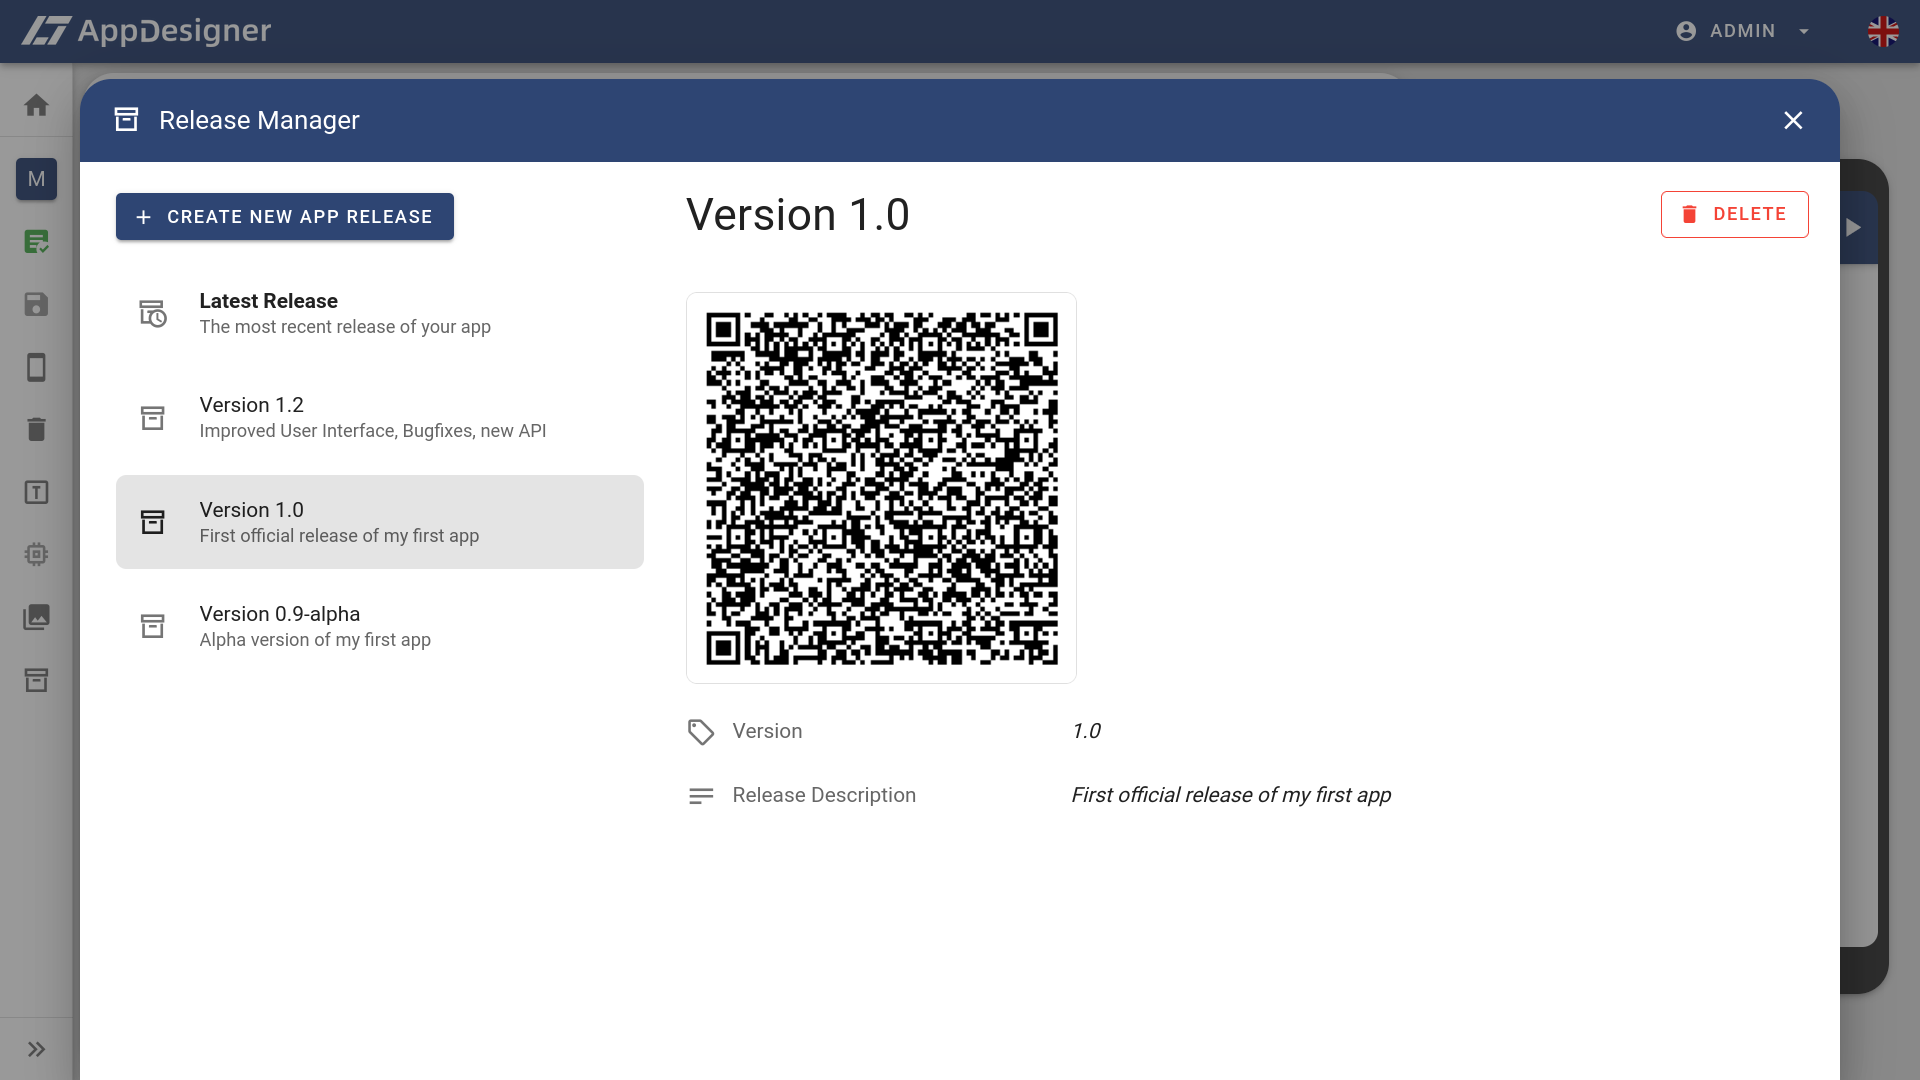
The release manager provides all functionalities around the administration and creation of releases. It can be opened via the app editor's sidebar (). The general user interface structure is similar to the Media Manager or Thing Manager. You'll find a list of all releases on the left and detailed information about the selected release on the right.
# Latest Release
If you simply want to add the latest release of your app to the AppHub, click the Latest Release item at the top of the release list. The afterwards displayed QR code always links to the latest release of your app, even if you add more releases later.
# Creating New App Releases
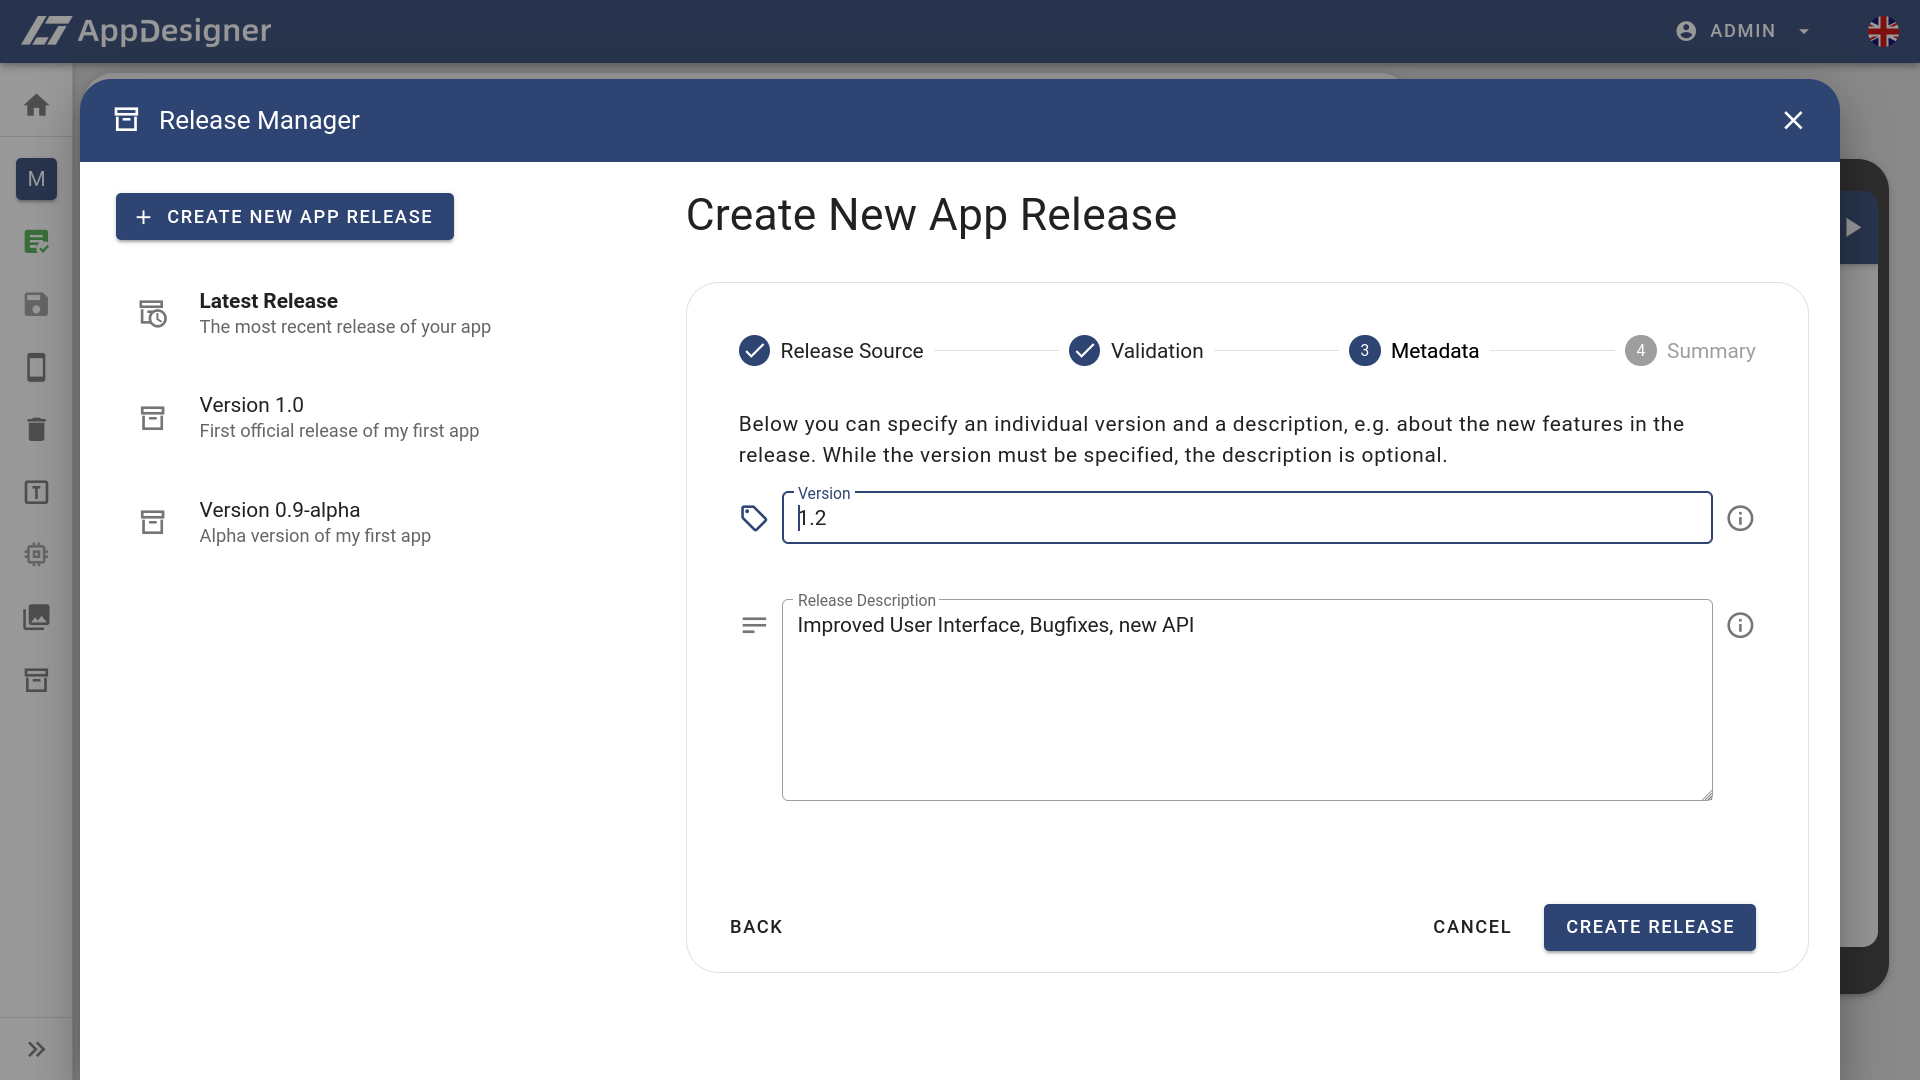
In order to create a new app release, click the button () above the release list. The release creating process is divided into 4 steps, which are described in detail below.
1. Release Source In the first step, you need to select whether you want to create the app release based on the current state of your app or whether you want to upgrade the last test version to an official release. If the latter is the case, no additional validation is necessary, since test versions require a valid state.
2. App Validation In the second step, you will be informed about the current validation state of the app. This step is skipped if you decided to upgrade the test version in the first step. If not, you can only continue building the release if your app has a valid current state.
3. Metadata The third step is to enter the required metadata for the app release. These include a mandatory version, which may contain both numbers and letters, and an optional description. The latter could contain, for example, the new features of the respective release.
4. Summary The fourth and final step displays the result of the release creation. If the creation was successful, the release can now be added to your AppHub. Just click on the Show New Release button and the release's individual QR code will be displayed. If it was not successful, the creation can be repeated by clicking a corresponding Retry button.
# Deleting App Releases
In order to delete a release, select the release, click on the Delete button () on the top right and confirm the dialog that opens. If you already added the deleted release to your AppHub, you can continue using it. However, you can't re-add this specific release.
# Testing in AppHub
As described above, releases are the only way to use an app in the AppHub. However, during the creation process, it is often useful to be able to test apps directly in the AppHub without having to create extra releases for them. For this purpose, the AppDesigner offers the possibility to create a test version.
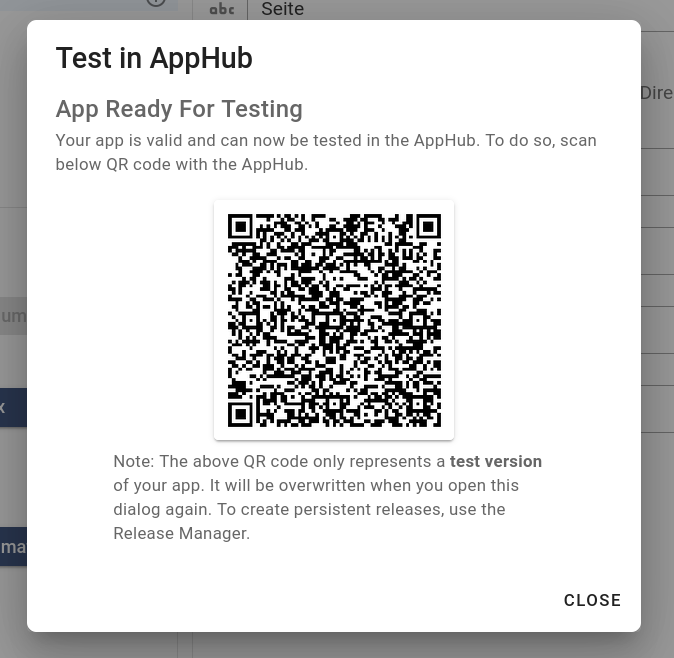
All you have to do is click on the corresponding entry in the sidebar () of the app editor. If your app is valid, a test version is created, which can then be added to the AppHub via a QR code. Please note that this test version should really only be used for testing. Each time you trigger the test version dialog, a new test version will be created and the old one will be overwritten. To publish your app, you should only use official app releases.