# Media Manager
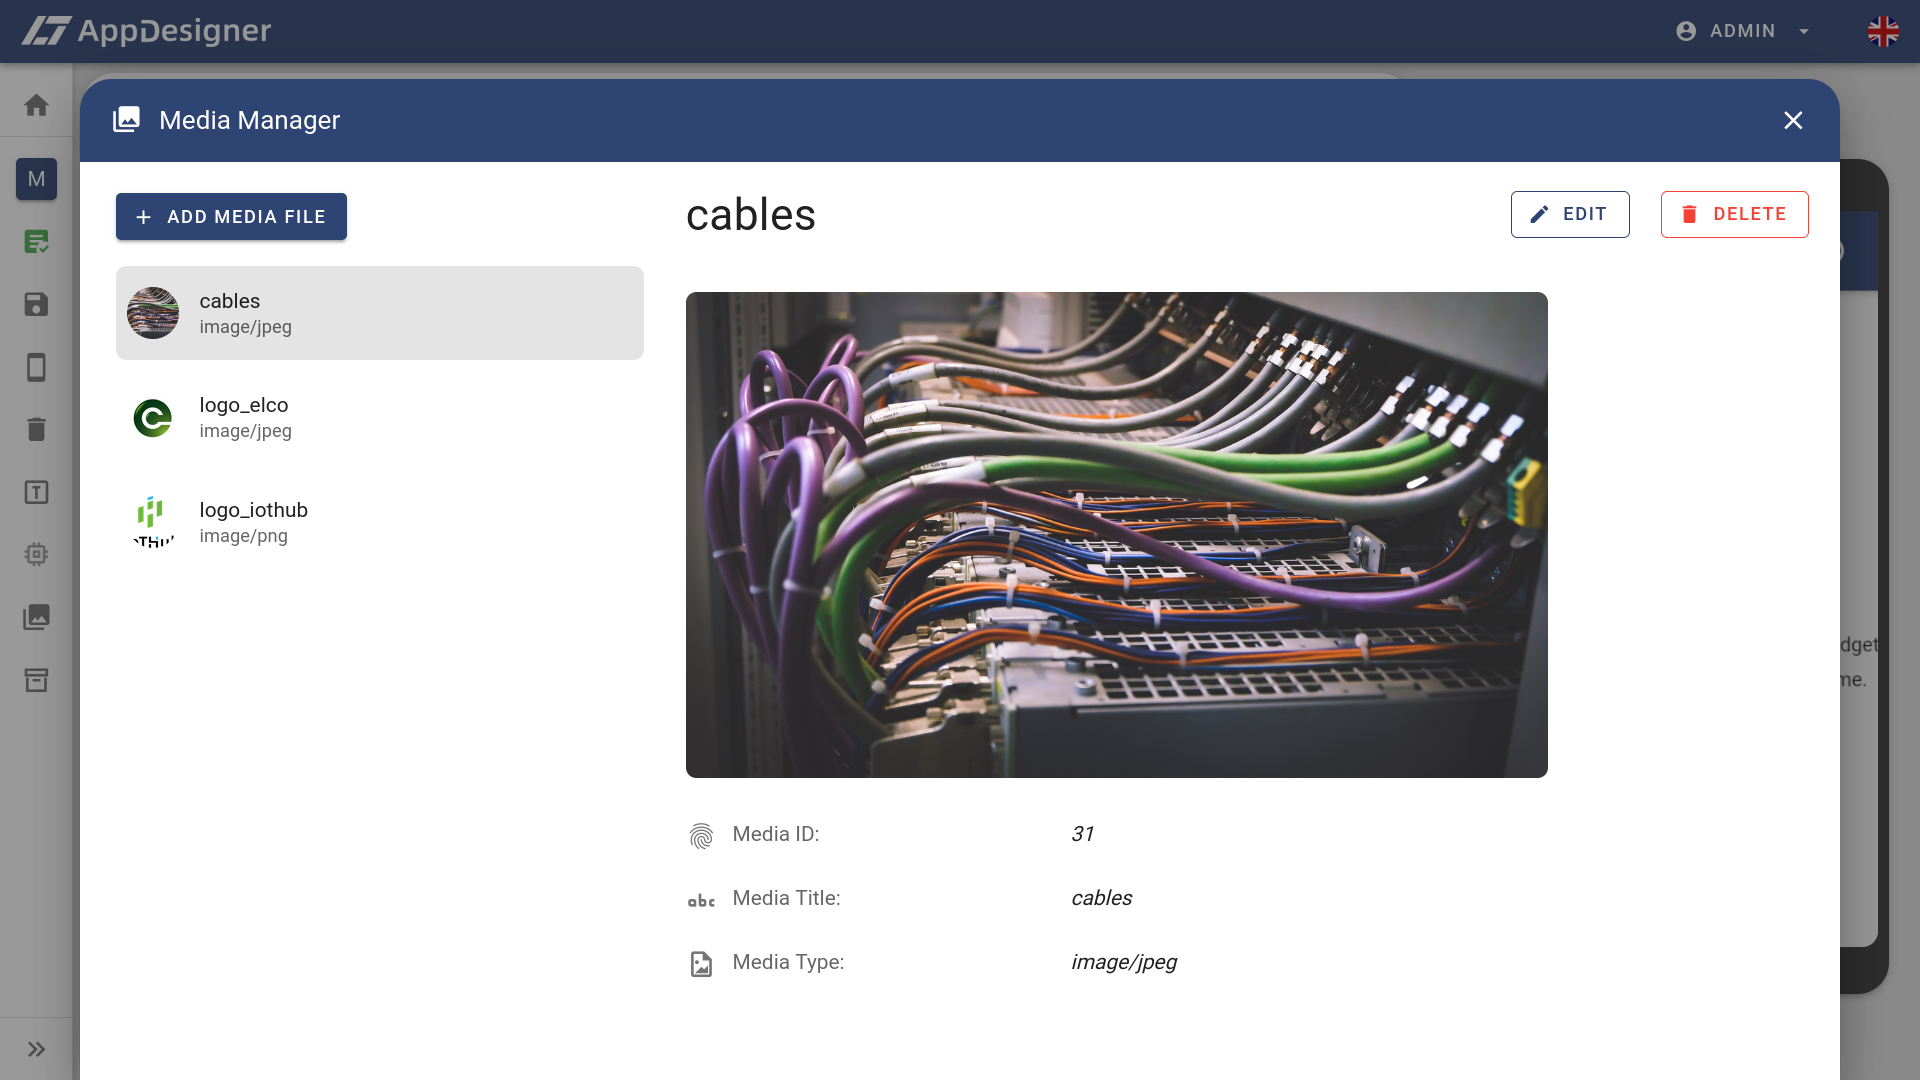
The Media Manager is the central point for managing images that you want to use in your app. An exception is the sample image, which can be set in the sidebar. The media manager can be accessed via the respective entry () in the sidebar. On the left side, there is the list of all uploaded media files. By clicking on one of the files, details and a preview will be displayed (see image below).
# Add media
In order to add a new image, just click the add button on top of the media list (). Afterwards, you have to select an image file from your computer and set a title. More information about specific requirements, e.g. regarding file type or file size can be displayed by hovering on the info icon () next to the input fields (see image below). It is important to choose a meaningful title, as this will later be the only attribute for identifying the image in the widget editor. After having uploaded the image, it is available in the image lists of the widget editor, e.g. when editing an image widget.

# Edit media
Previosuly uploaded media can be edited by first selecting it in the list on the left and then clicking the Edit button (). Besides the title you can also change the file itself. As explained before, certain requirements concerning the title and the image file must be met. Check the info tooltips next to the input fields for more details here.
# Delete media
An image can be deleted by first selecting it from the list in the media manager and then clicking the Delete button (). Keep in mind that the image will also be deleted from the app model. That means that widgets in which the image was used will no longer display any content after deleting the image.