Connect a Modbus device to the IoTHub
Connecting a Modbus device to the IoTHub requires a running agent. There are two ways to install and start an agent. The first way (recommended) is to use the agent controller (see more). The second way is to start the agent as a standalone process manually (see more).
Step-by-step guide using the agent controller
Connect an agent controller to the IoTHub (see more).
Add a modbus agent to the IoTHub by clicking the icon at the top of the agent list.
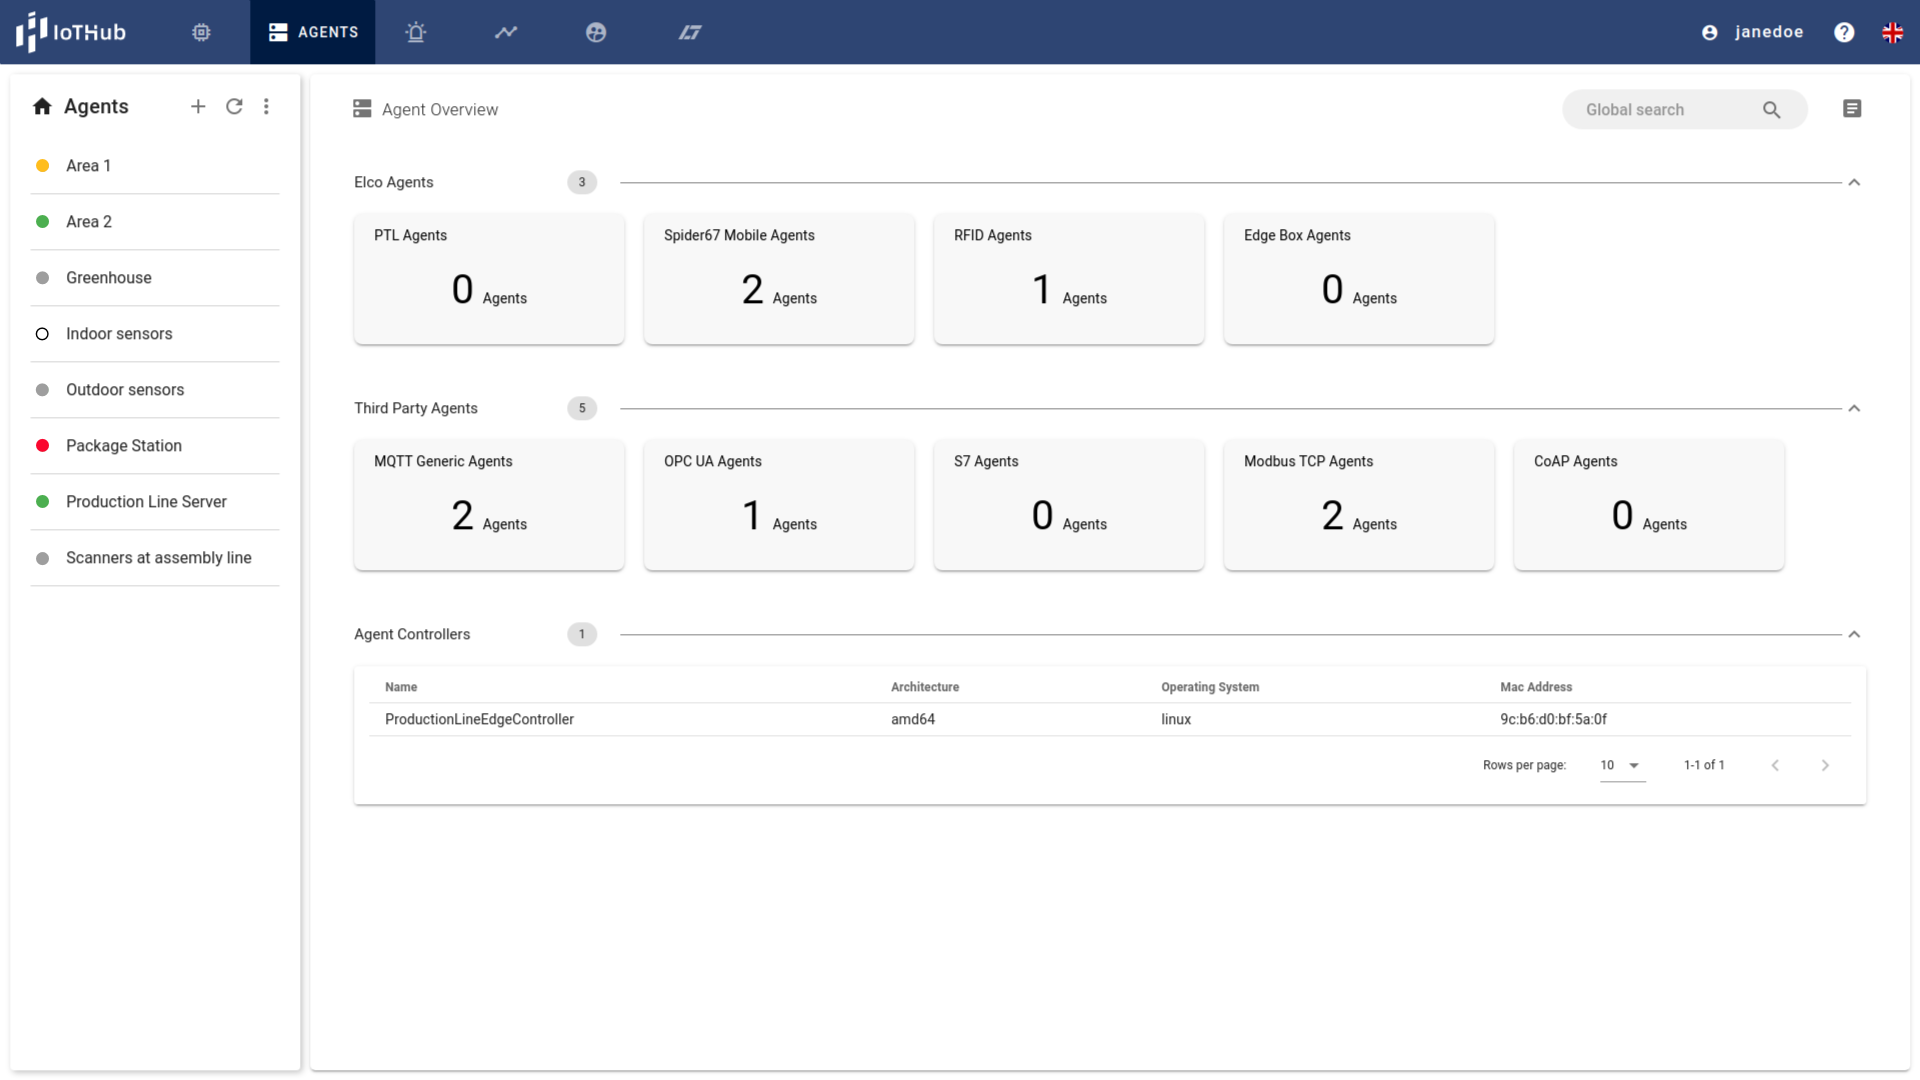
- Fill out the dialog with a unique name, a human-readable title, and an optional description.

Select Modbus TCP from the Third Party Agents group as Agent Type and Confirm the data.
Select the agent from the list at the left and assign the agent controller by clicking at the Assign Controller button at the top of the details view.

- Install the agent by clicking the icon in the Controller Actions and State frame

- Start the agent by clicking the icon.

- Confirm that the agent is connected to the IoTHub. It might be required to click the refresh icon () to see the latest state of the agent.

Step-by-step guide installing the agent manually
- Download the agent binary for the target system:
| Latest | v3.0.0 |
|---|---|
| Linux x86 | Linux x86 |
| Linux amd64 | Linux amd64 |
| Linux arm | Linux arm |
| Linux arm64 | Linux arm64 |
| Windows x86 | Windows x86 |
| Windows amd64 | Windows amd64 |
| Darwin | Darwin |
Unpack it to a destination folder and open a terminal there
Start the agent with the command line
./modbus-tcp --id ${id} \
  --gateway${url} \
  --token ${token}
with
- id: ID of the agent, can be found at the General Info box
- url: The IoTHub URL with the gateway port
- token: Security token of the agent, can be found and copied at the General Info box
- Find more options at the agent manual
Step-by-step guide connecting a Modbus thing
- Add a Modbus thing to the IoTHub by clicking the icon in top of the thing list at the Thing page.

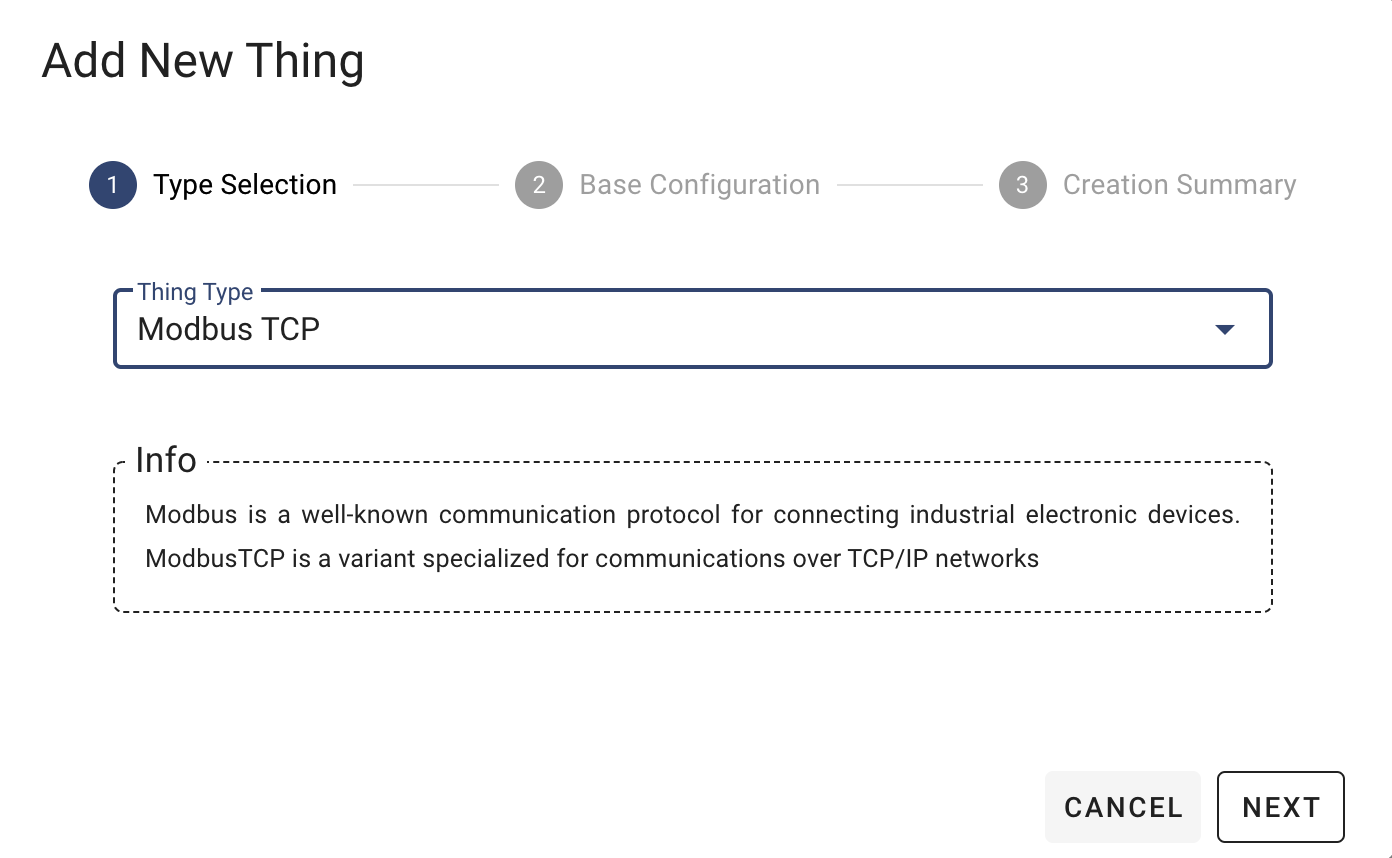
- Select the type Modbus TCP and click Next
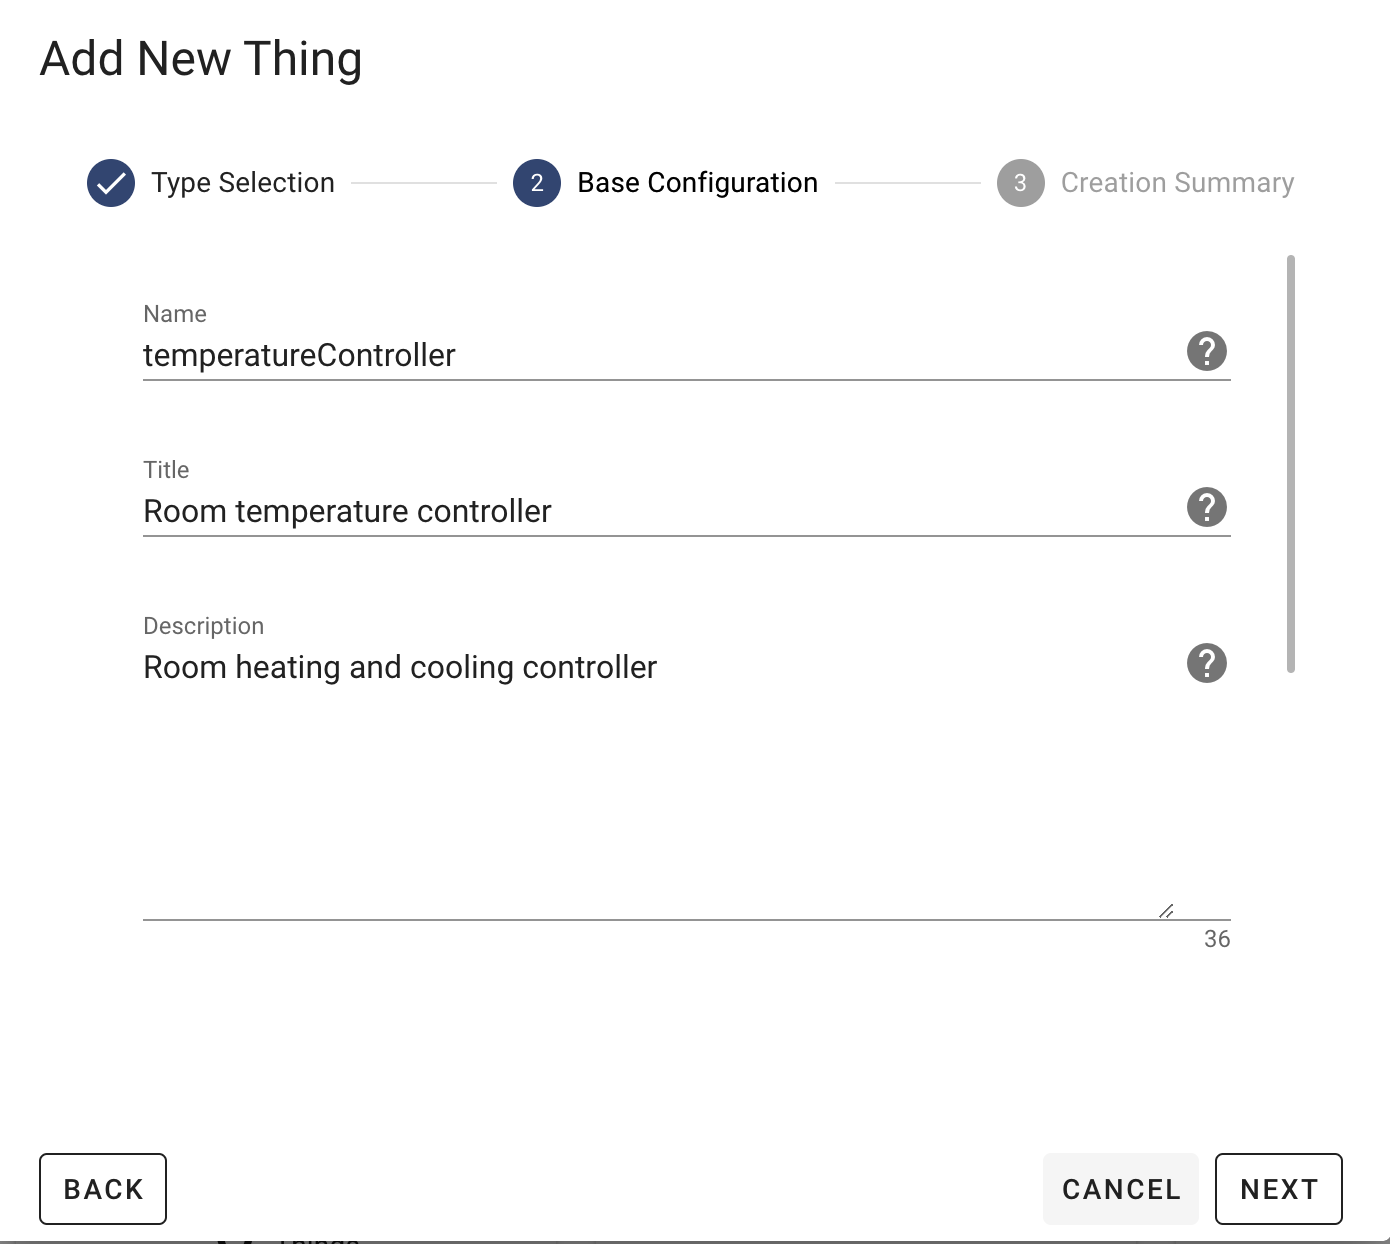
- Fill out the dialog with a unique name, a human-readable title, and an optional description.
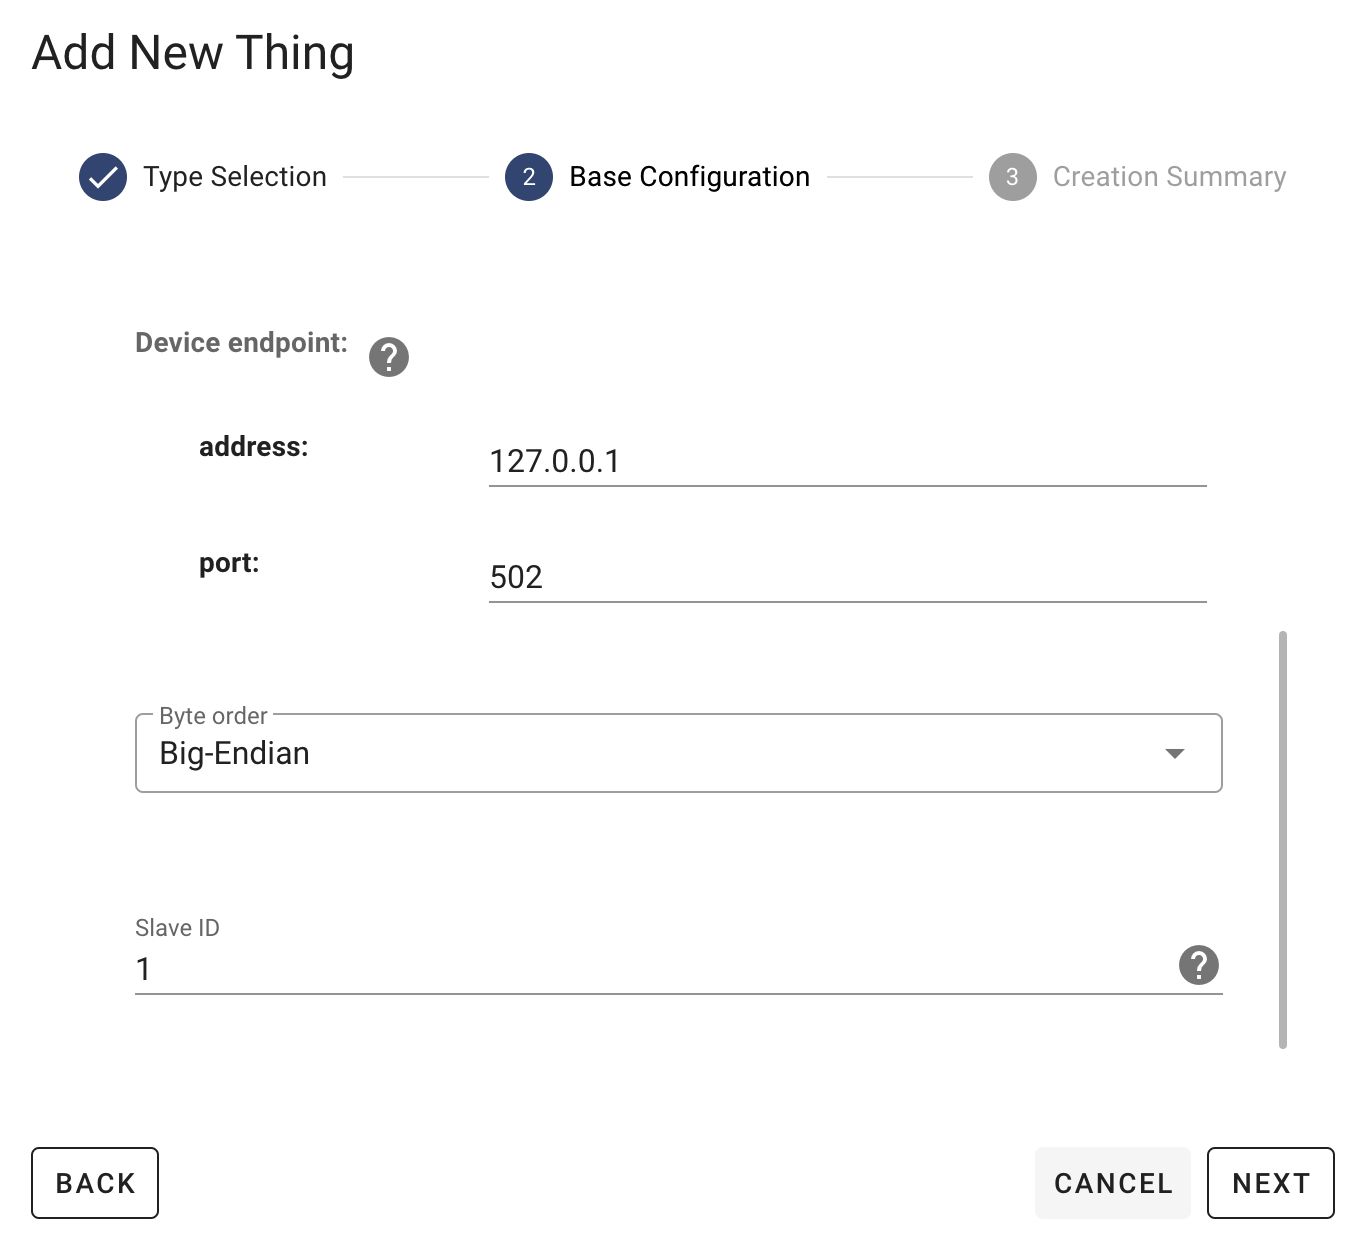
- Scroll down to the configuration section and provide the device's endpoint (address and port) and a different Rack or Slot number if required. Then click Next.
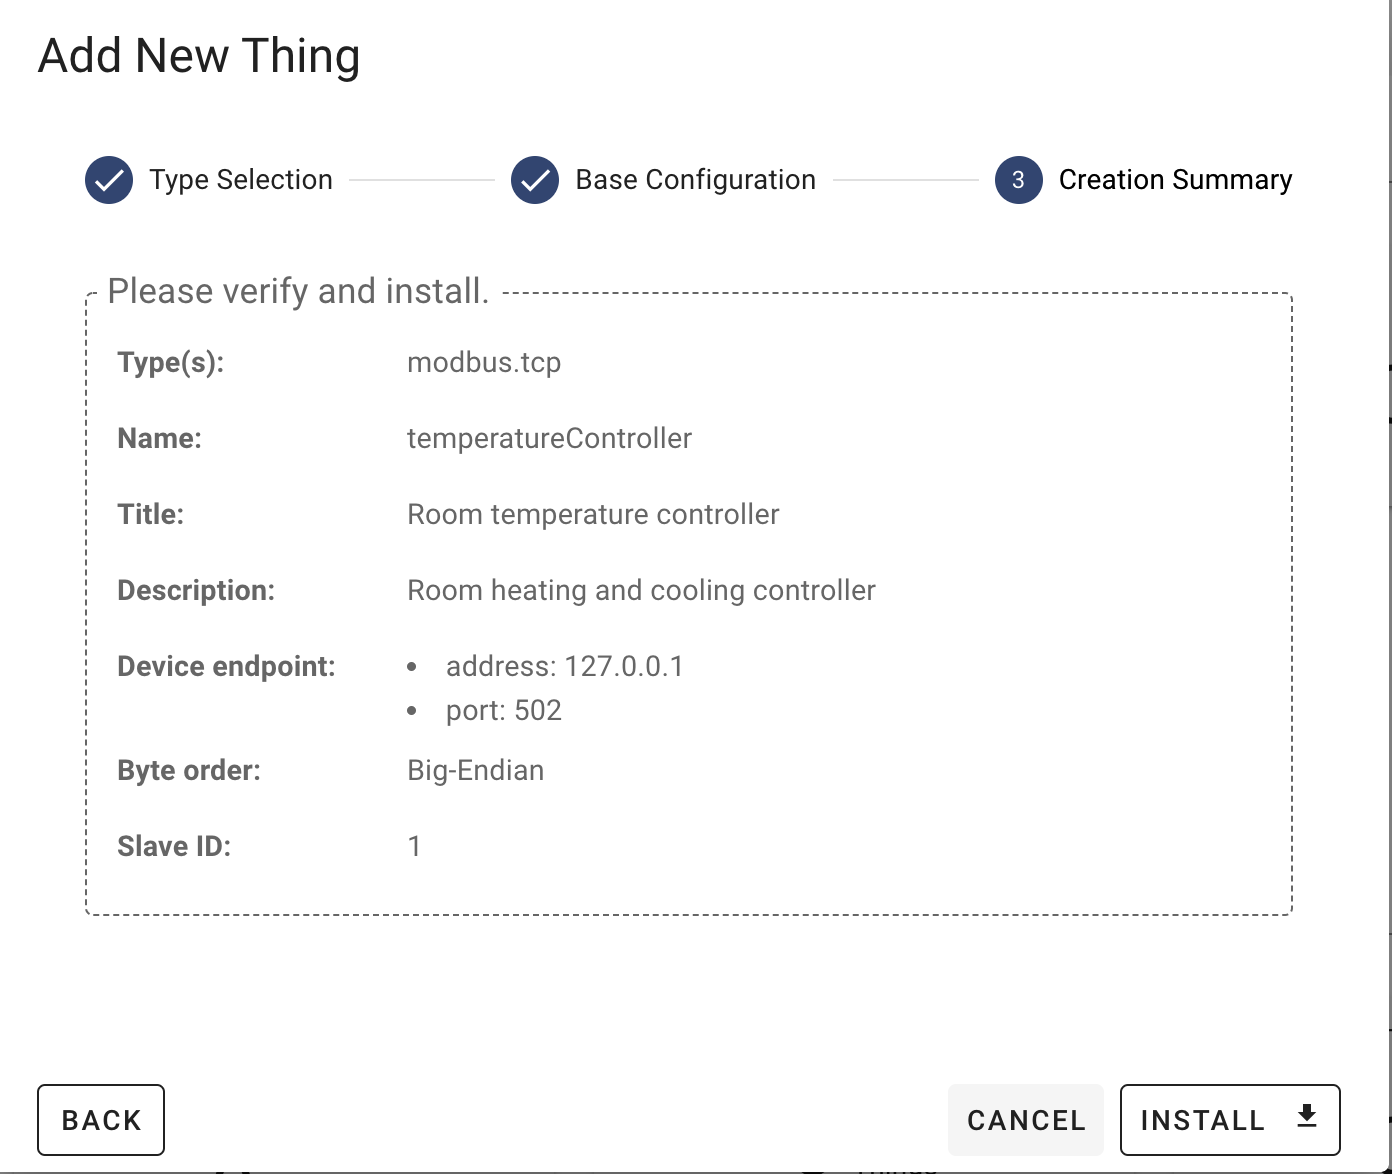
- Install the thing by clicking the Install button.
Navigate to the Agents page and select the Modbus agent.
Enable editing the agent by clicking Edit Agent

- Scroll to the Thing Assignment box and select the previously created thing.
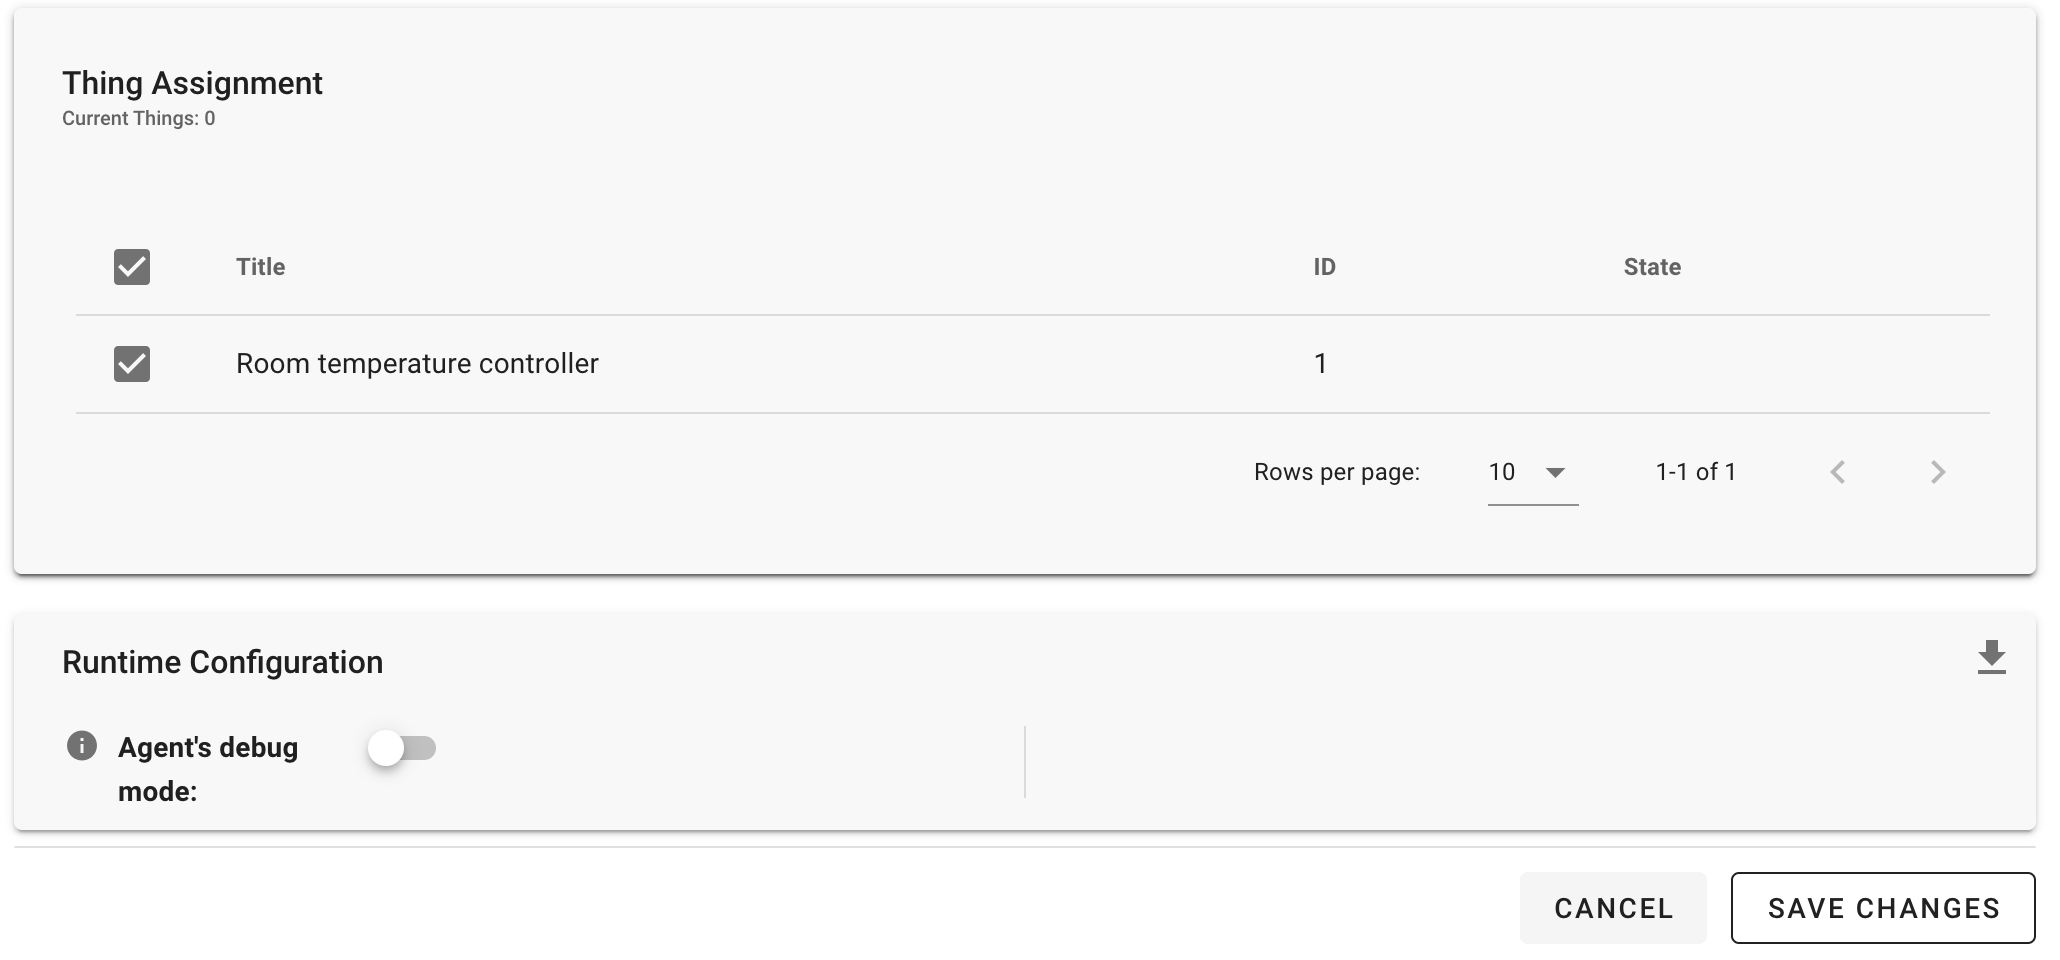
Save the assignement by clicking on the Save Changes button at the bottom.
Switch back to the Things page and select the Modbus thing
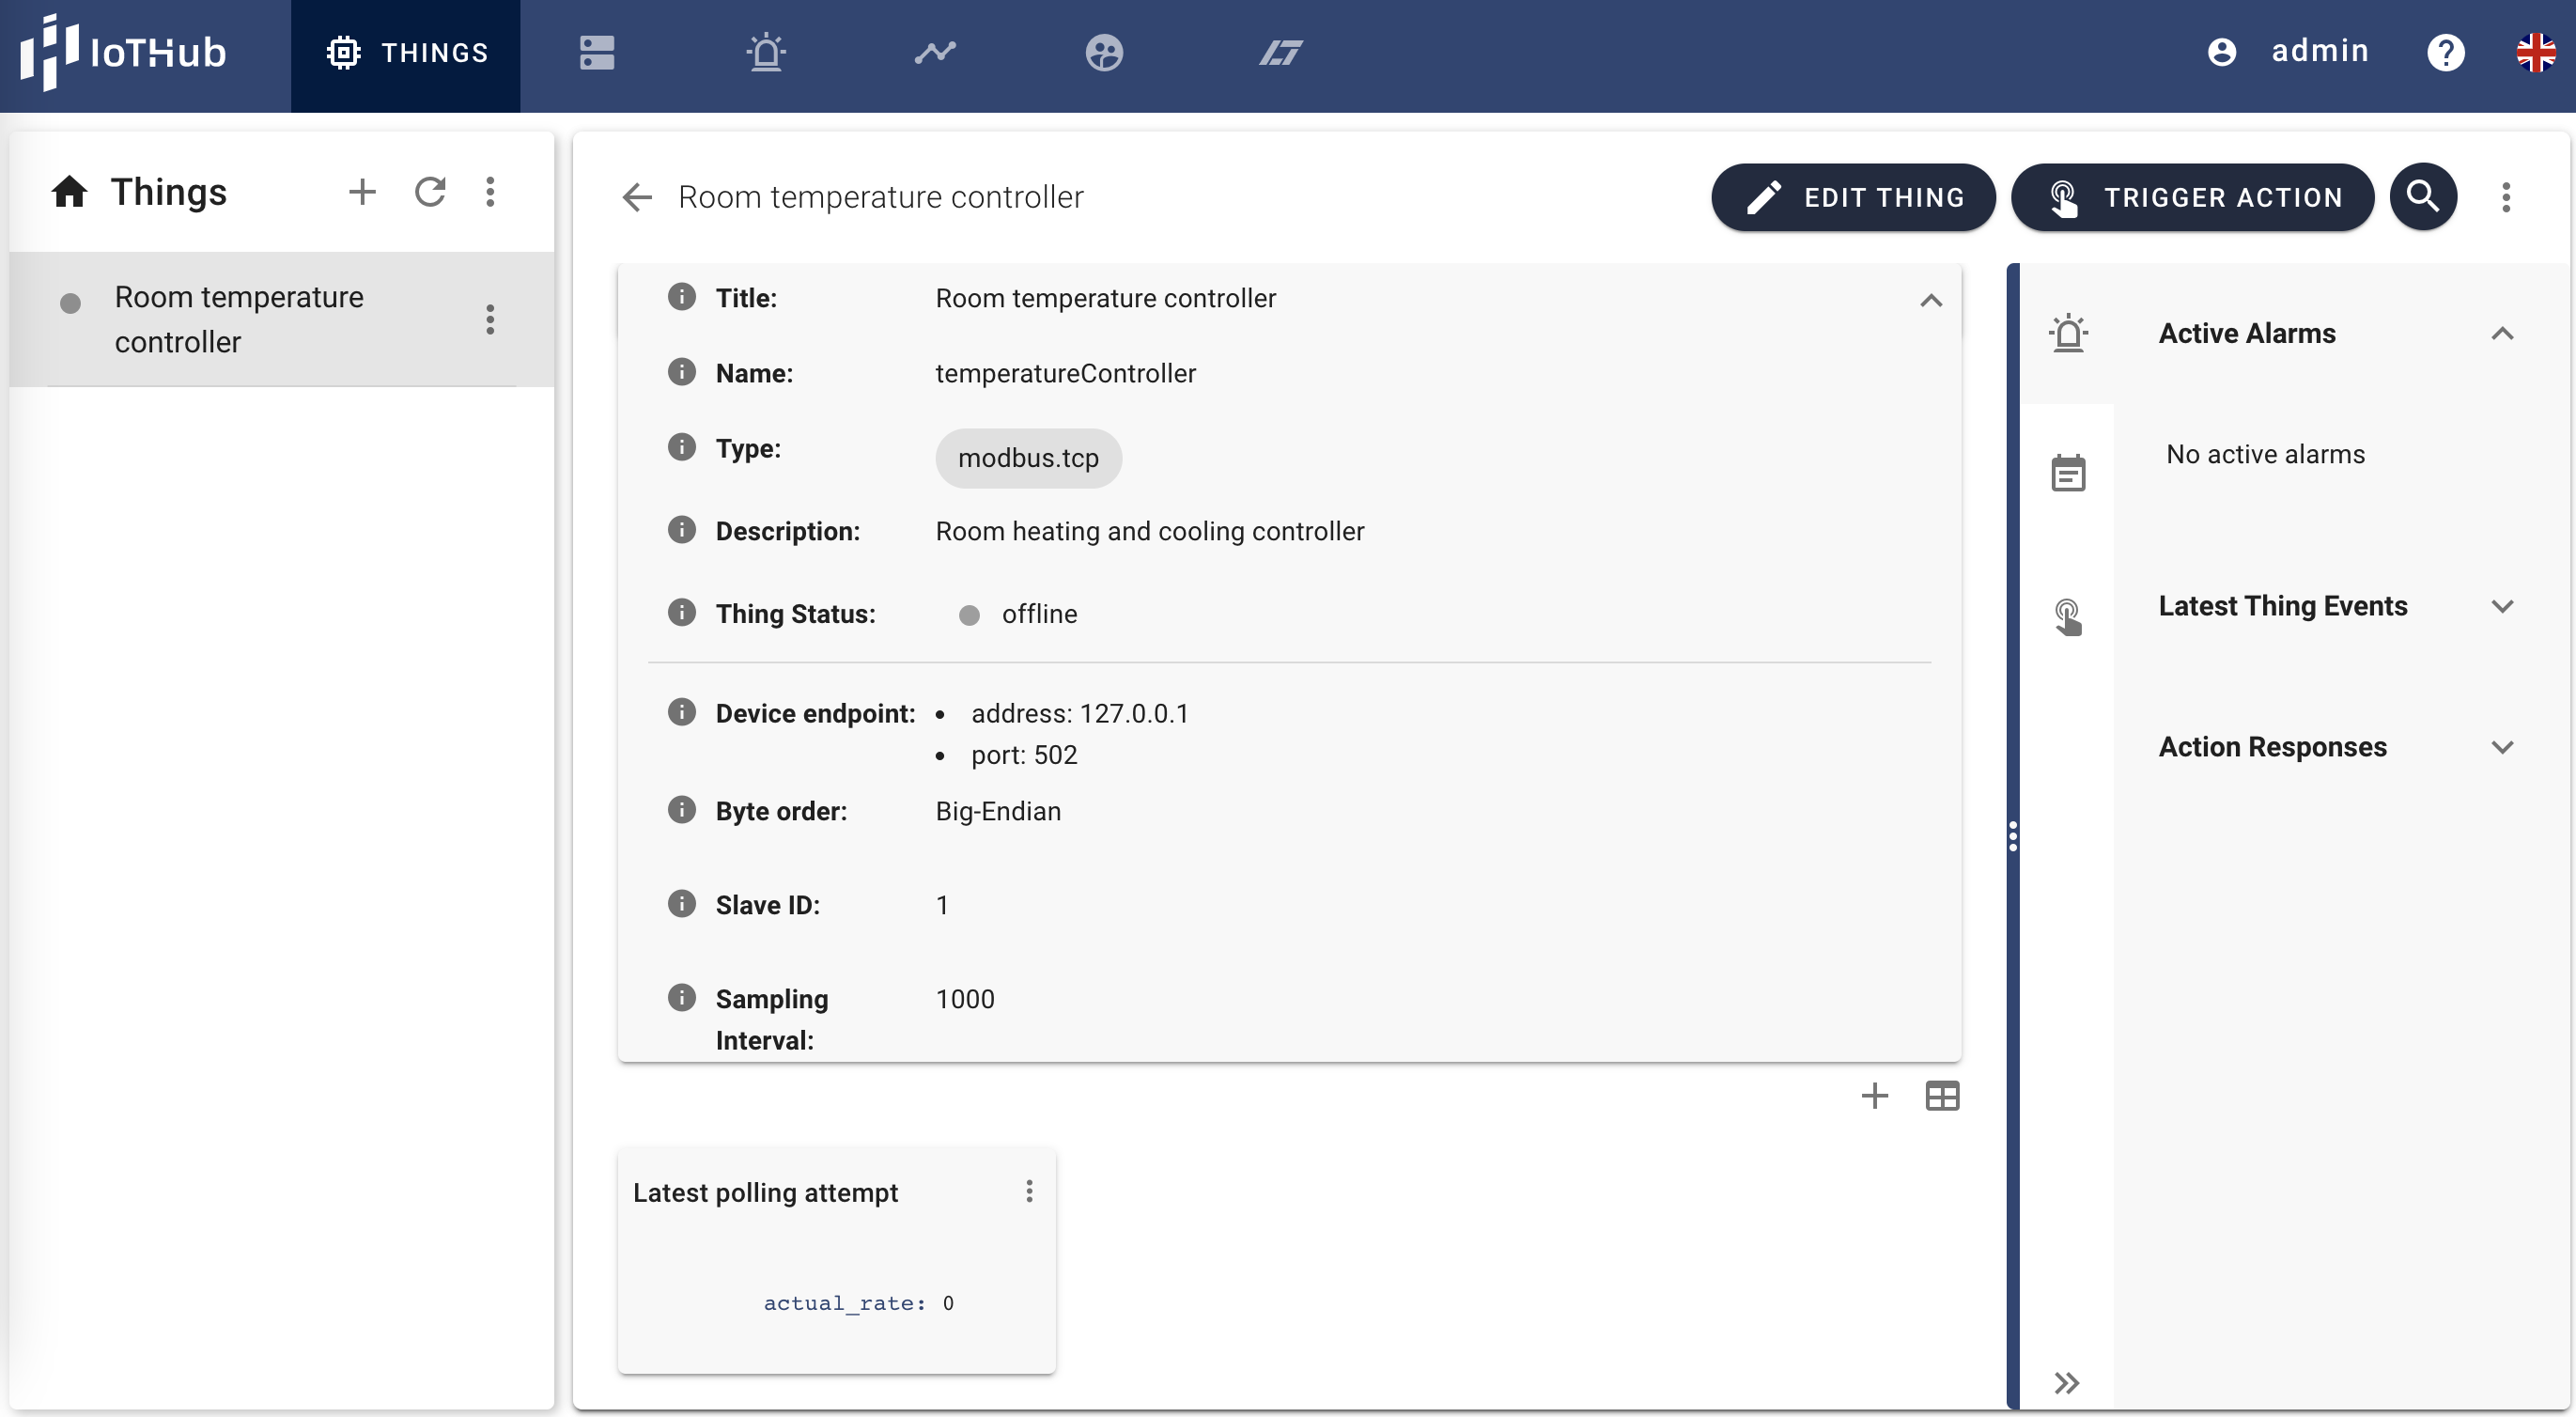
Clicking at the TRIGGER ACTIONS button at the top of the detail view.
Clicking at the CONNECT DEVICE action

- Create properties to observe data items at the PLC. Use the below the Info box
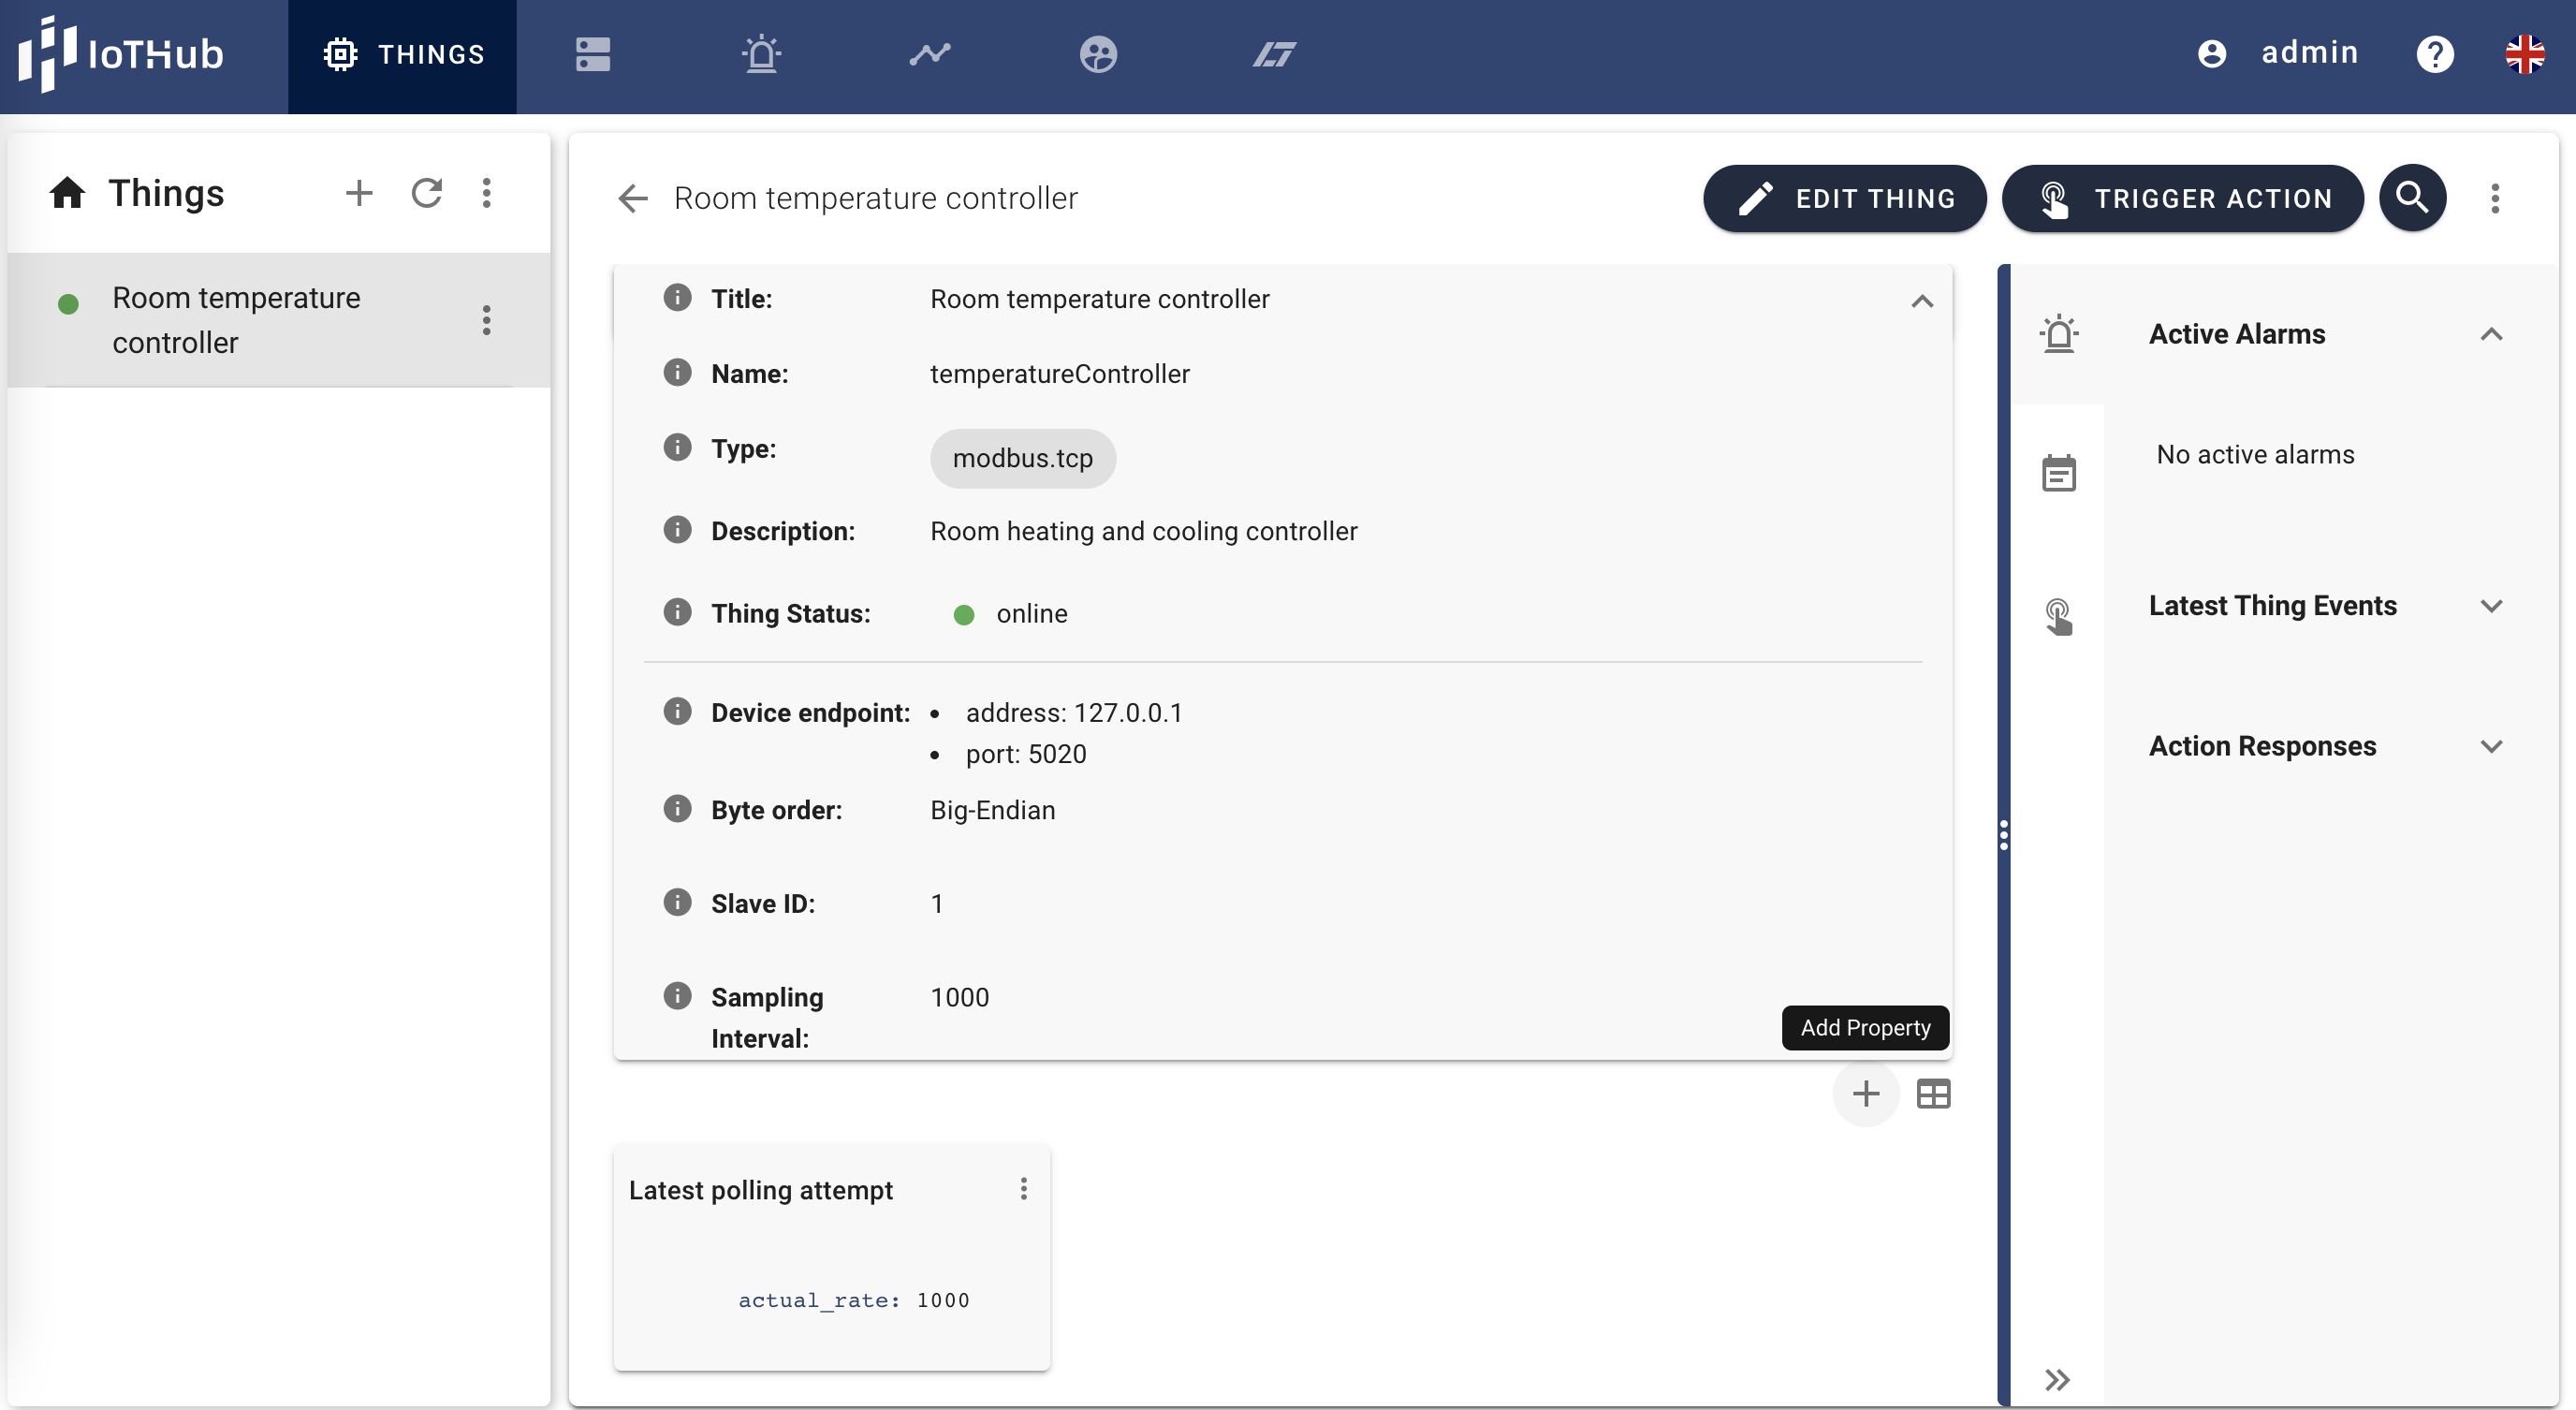
- Give the property a unique name, select the correct data type and Area for it. Select an address and Quantity. Optionally, add a description and a human-readable title.
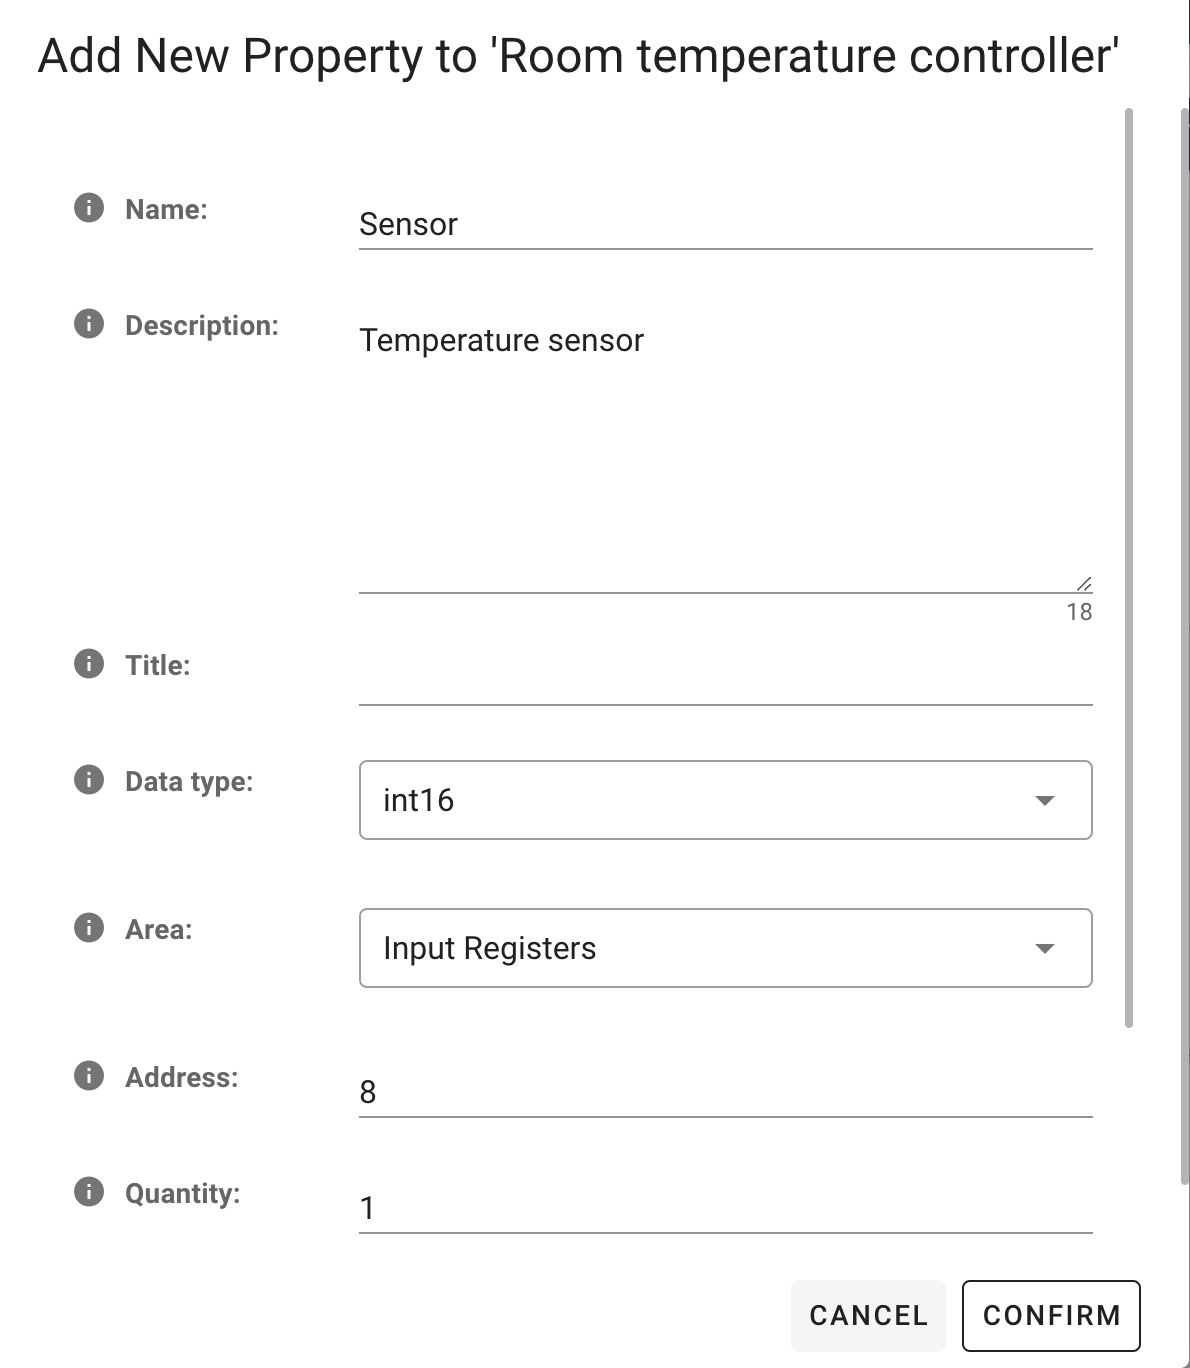
- Scroll down to see more options for example read-only, Unit, and Minimum and Maximum.
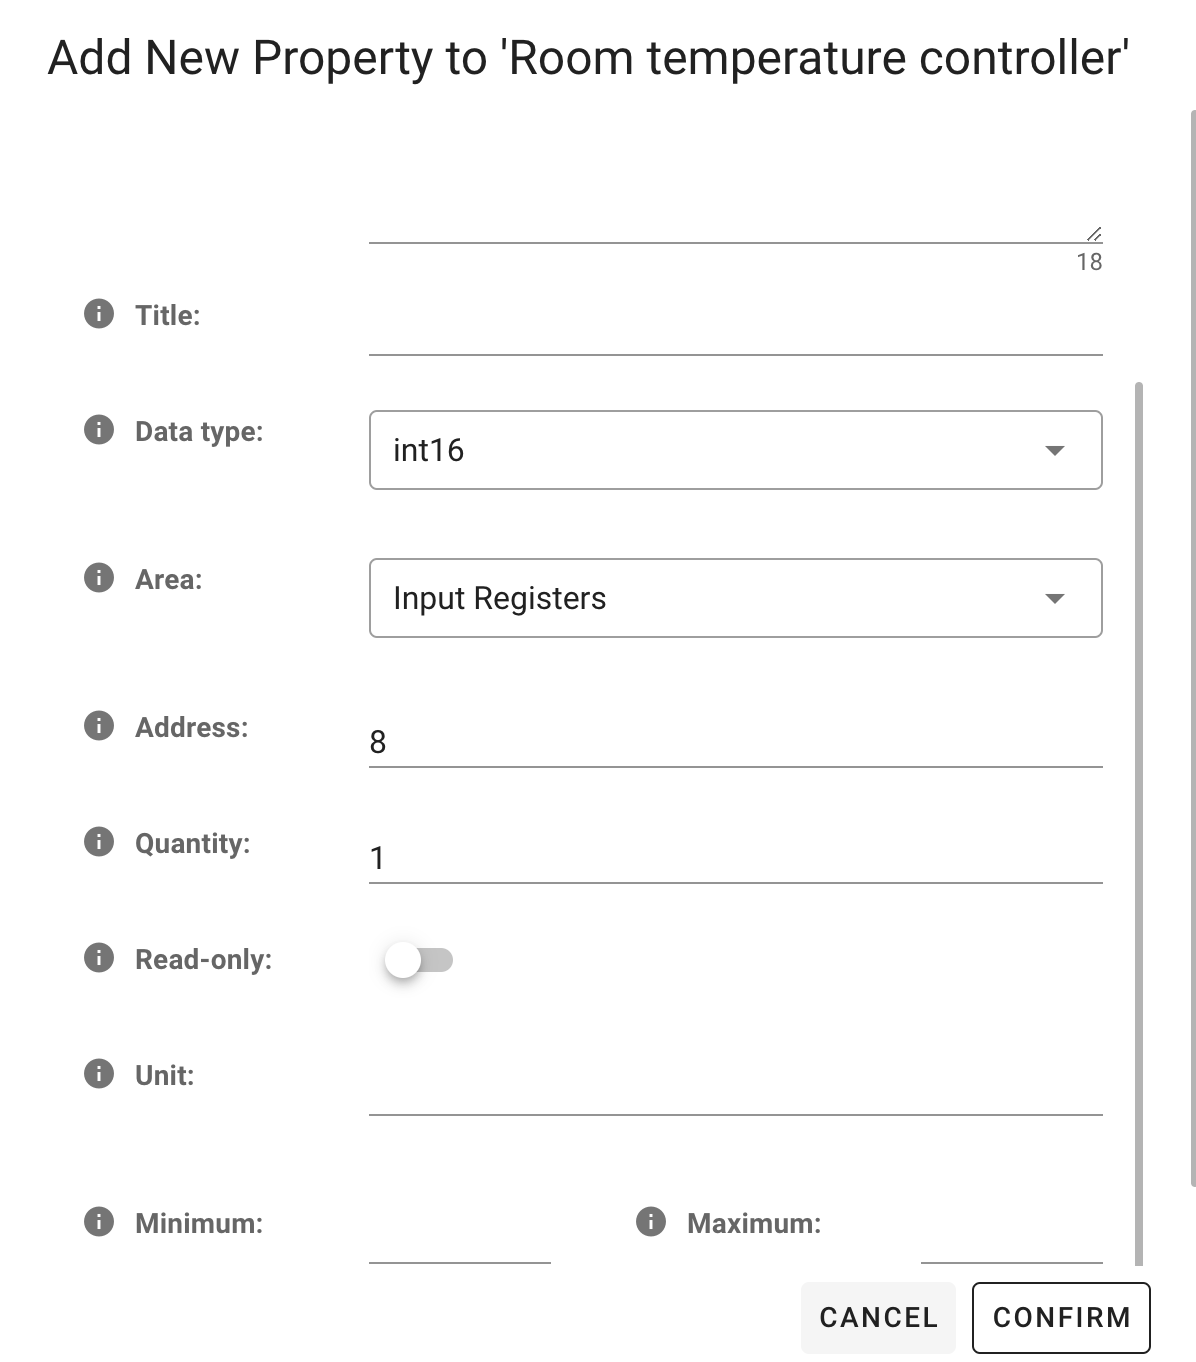
Confirm the data.
If the property was correctly created, it will be immediately visible. Moreover, if the Thing is connected, the property will automatically get values updates from the agent.
