Things in the UI
This section describes adding, removing and editing of Things and their properties as well as triggering actions in the UI. Where events and alarms of a Thing can be found is shown too. To access the UI, click on the Things icon at the top.
Things
Adding a Thing
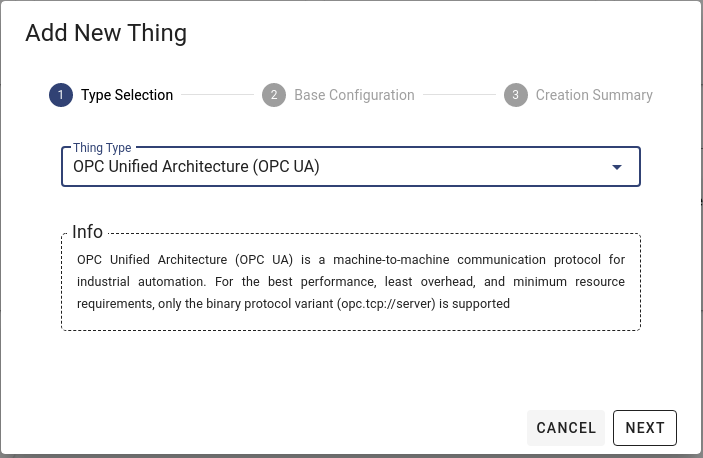
To add a Thing, first click on the button at the bottom left . From there, you can click on "Add New Thing". A 3-page Dialog will open. On the first page, you have to select the desired Thing type. For an overview of available Thing types, please refer to the Everything is a Thing section above.
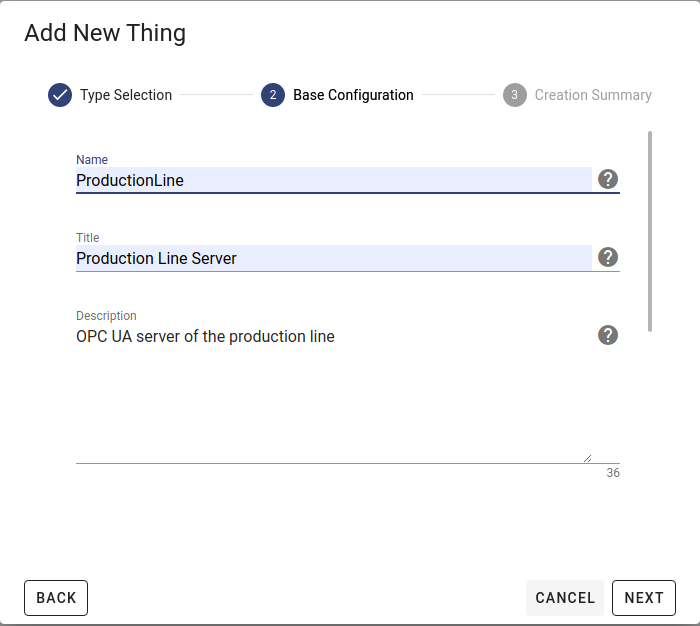
On the next page you have to enter a name as well as a description for the Thing you want to add. Also, fill in the Thing type specific properties. Other properties like the title are optional.
Info
More information about the Thing types and their required attributes with examples can be found in the Tutorials section. There you will find a configuration example for each supported Thing type.
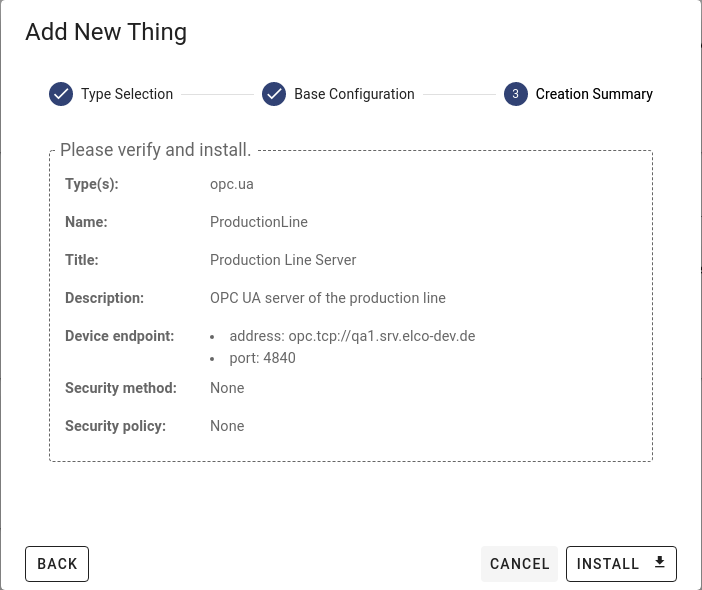
Proceed by clicking NEXT again. On the last page, you can verify whether the information you entered is correct and finally add the Thing by clicking INSTALL . The Thing will be created and displayed on the left.
General Thing Information
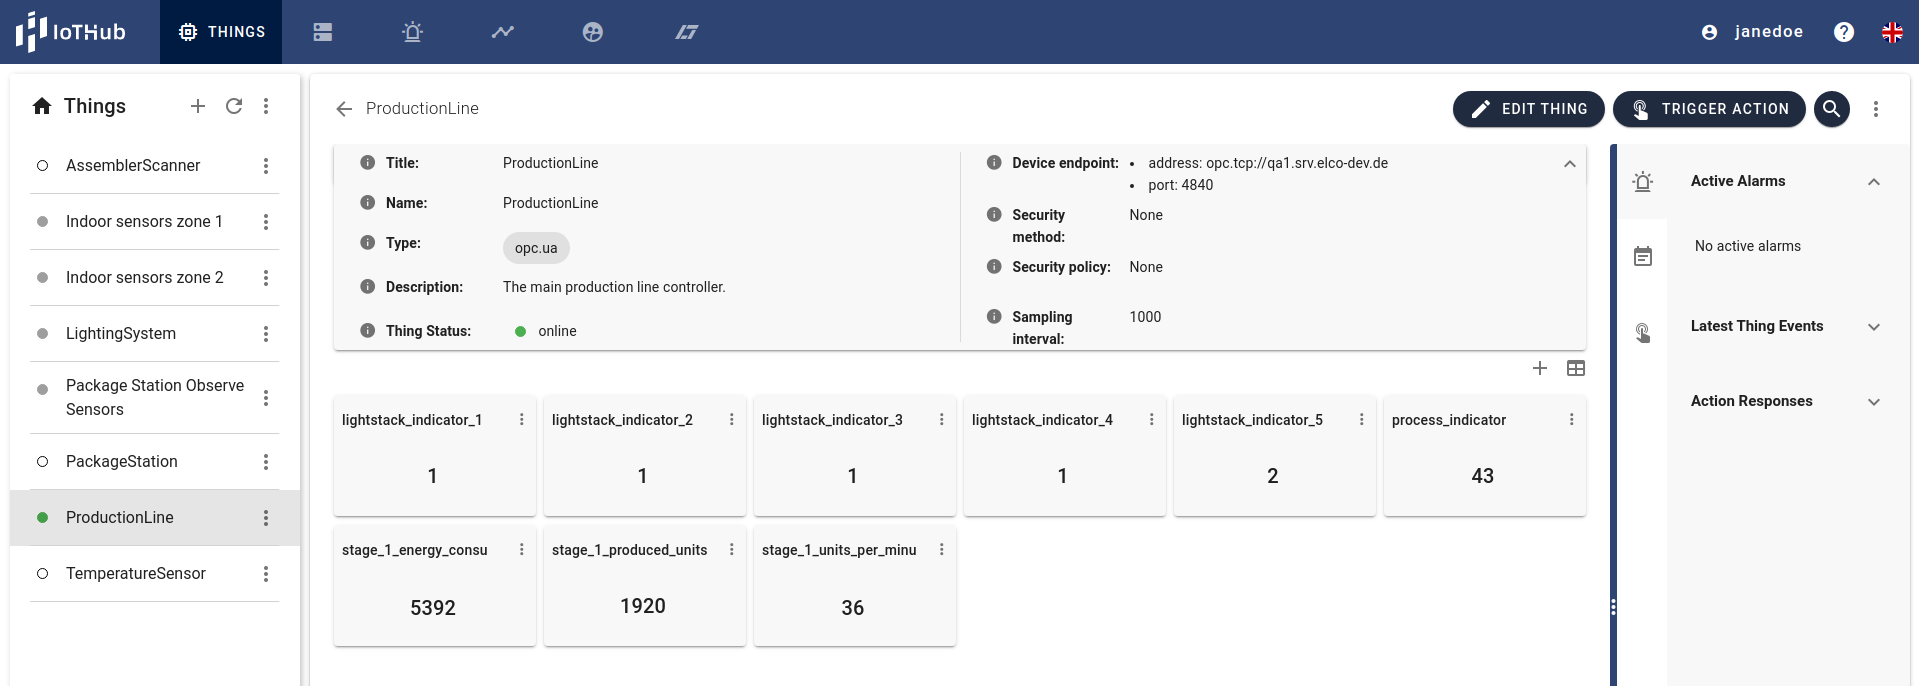
The name of the Thing is displayed on top. More general information (e.g. the Thing type) is also shown in a box on top. For Things that have a type which is not 'Virtual Thing' the configuration will also be shown in this Box.
For an explanation of the different states, please refer to the Everything is a Thing section above.
Removing a Thing
To remove a Thing, first select it in the Thing list. Then open the Thing menu by clicking on the Menu Icon and then click on the 'Delete Thing(s)' option. Confirm the deletion in the dialog that is displayed.
Duplicating a Thing
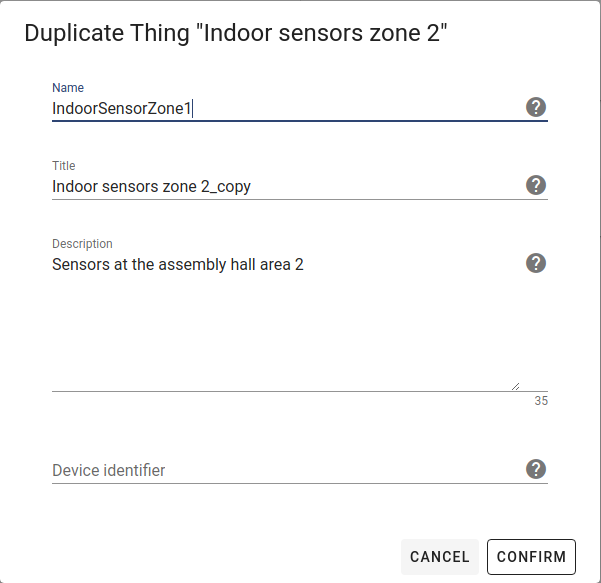
To duplicate a Thing, first select it in the Thing list. Then open the Thing menu by clicking on the Menu Icon and then click on the 'Duplicate Thing' option. Confirm the duplication in the dialog that is displayed.
Editing a Thing
To edit a Thing, go into edit mode by clicking EDIT THING . There you can change the name, description and the Thing type specific properties, which are editable. To save the changes, click SAVE CHANGES. At any time it is possible to exit Edit mode by pressing EXIT EDIT .
Properties
Changes to a property can be done via a context menu. Open it by clicking on the Property Icon.

Adding a Property
To add a property to a Thing, first select the Thing from the list, then click on the Add button. Fill in the required fields as well as Type (Please refer to the table in the Everything is a Thing section above for details). All other fields are optional. Add the property by clicking CONFIRM. The new property will be displayed as a card on the Things page. It is also possible to add a property via the 'Add Property' option in the Thing menu that appears when clicking the menu button.
Editing a Properties Attributes
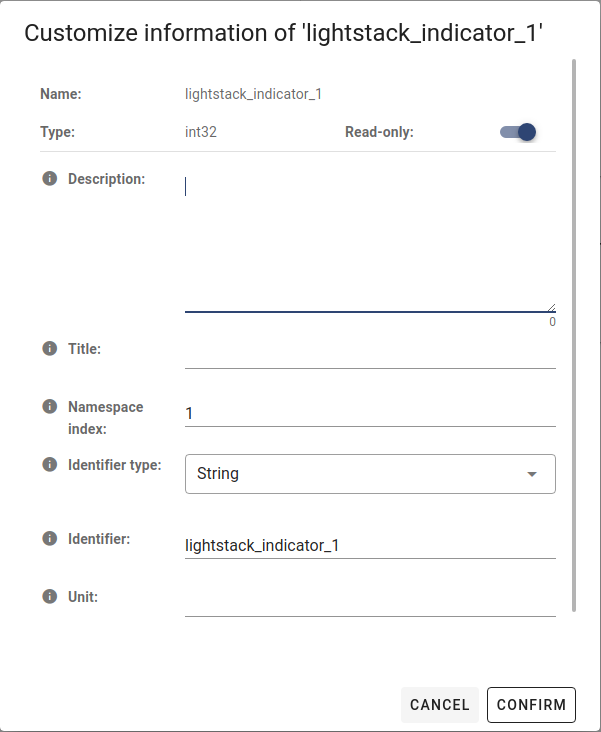
To edit a properties attributes, click on the menu icon of a property card to open the property menu, then click the Settings icon . The editable fields are shown attthe bottom in the dialog. To save the changes, click CONFIRM.
Writing a Property value
To write the value of a property, click on the menu icon of a property card to open the property menu, then click on the Write icon and enter the new value in the dialog that is shown. Write the value to the property by clicking CONFIRM. You can also click the property card, which will open the dialog right away.
Deleting a Property
To delete a property, click on the menu icon of a property card to open the property menu, then click on the Bin icon. Confirm the deletion by clicking Delete in the opened Dialog.
To delete multiple properties, click on the Menu icon in the top right. Then click the 'Delete Properties' option in the Thing menu. Select all properties you want to delete by checking the respective check box in the list that is shown. Confirm the deletion by clicking CONFIRM.
Copy to Clipboard
To copy a properties path to the clipboard, click on the menu icon of a property card to open the property menu, then click on the copy icon. The path of the property will be copied to the clipboard.
Property History
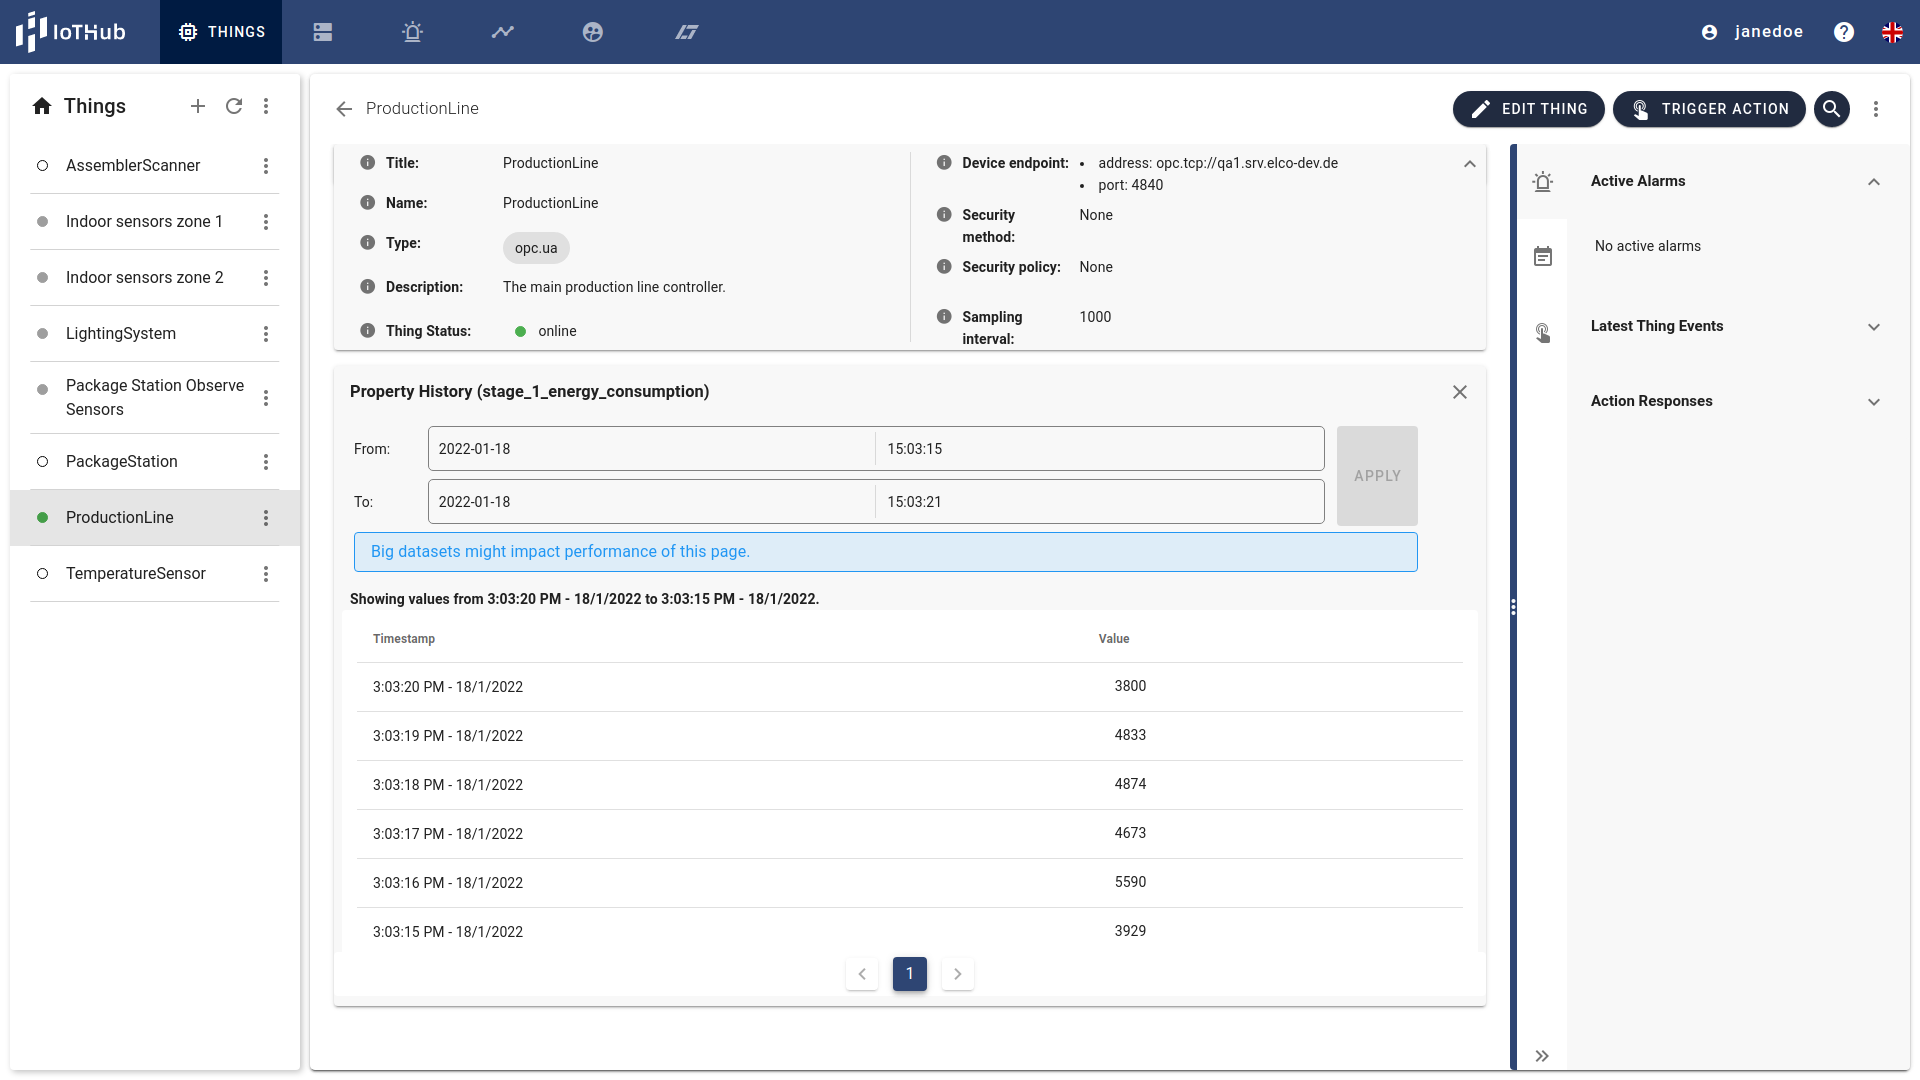
To view the history of a property, click on the menu icon of a property card to open the property menu, then click on the History icon. The history of the property will be displayed in a table. The table shows the value of the property at the time of the event. The start and end time of the history can be selected and the history will be filtered accordingly by clicking the APPLY button.
Display properties in grid or table layout
Clicking the Layout Button switches between the Grid View, where each property is shown as card in a grid, and the Table View where a simple table is used to show all properties of a Thing.
Actions
All Things apart from the virtual have actions. Actions are commands send via the agent to the real device. The Thing view contains a dialog for triggering the actions if a Thing has at least one.
To execute an action, please click on the TRIGGER ACTION button to open the dialog and then start the action by clicking on the respective Play icon.
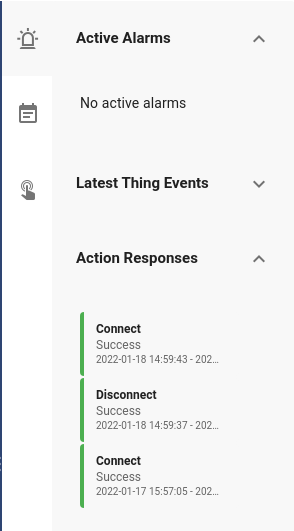
To check the result of an action, open the sidebar on the Thing view by clicking the sidebar handle at the bottom right of the page, expand the 'Action Responses' category and check the action response items in there. The most recently executed action will be listed at the top of the list. By clicking an action response item a dialog containing more information will open up.
Events
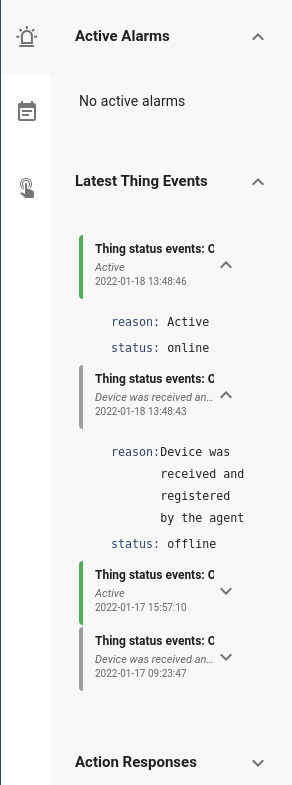
To check the Thing events, open the sidebar on the Thing view by clicking the sidebar handle , expand the 'Latest Thing Events' category and check the event items in there. The most recent events will be listed at the top of the list. By clicking an event item a dialog containing more information will open up.
Alarms
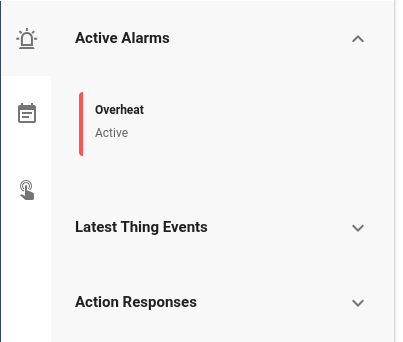
Alarms can be set for Properties of all Things. If Alarms of the current Thing are active they can be found in the sidebar of the Thing view.
To check the Alarms, open the sidebar on the Thing view by clicking the sidebar handle , expand the 'Active Alarms' category and check the alarm items in there. Clicking an alarm item redirects to the respective Alarm view.
