Agent Setup
TIP
To setup an Agent, Two Options are possible:
- Use an Agent Controller, start it and then assign it to the Agent. You need a special controller token. Then continue in the control center by installing and then starting in Agent.
- Use a local Agent binary, start it with an Agent token and then continue in the control center by starting it.
Creating new Agents
The following examples are based on the Web UI of the IoTHub, which provides an intuitive and easy way to create Agents. However, you can use the IoTHub REST-API for creating Agents as well. You can find more details in the RESTful API Documentation.
Agent page
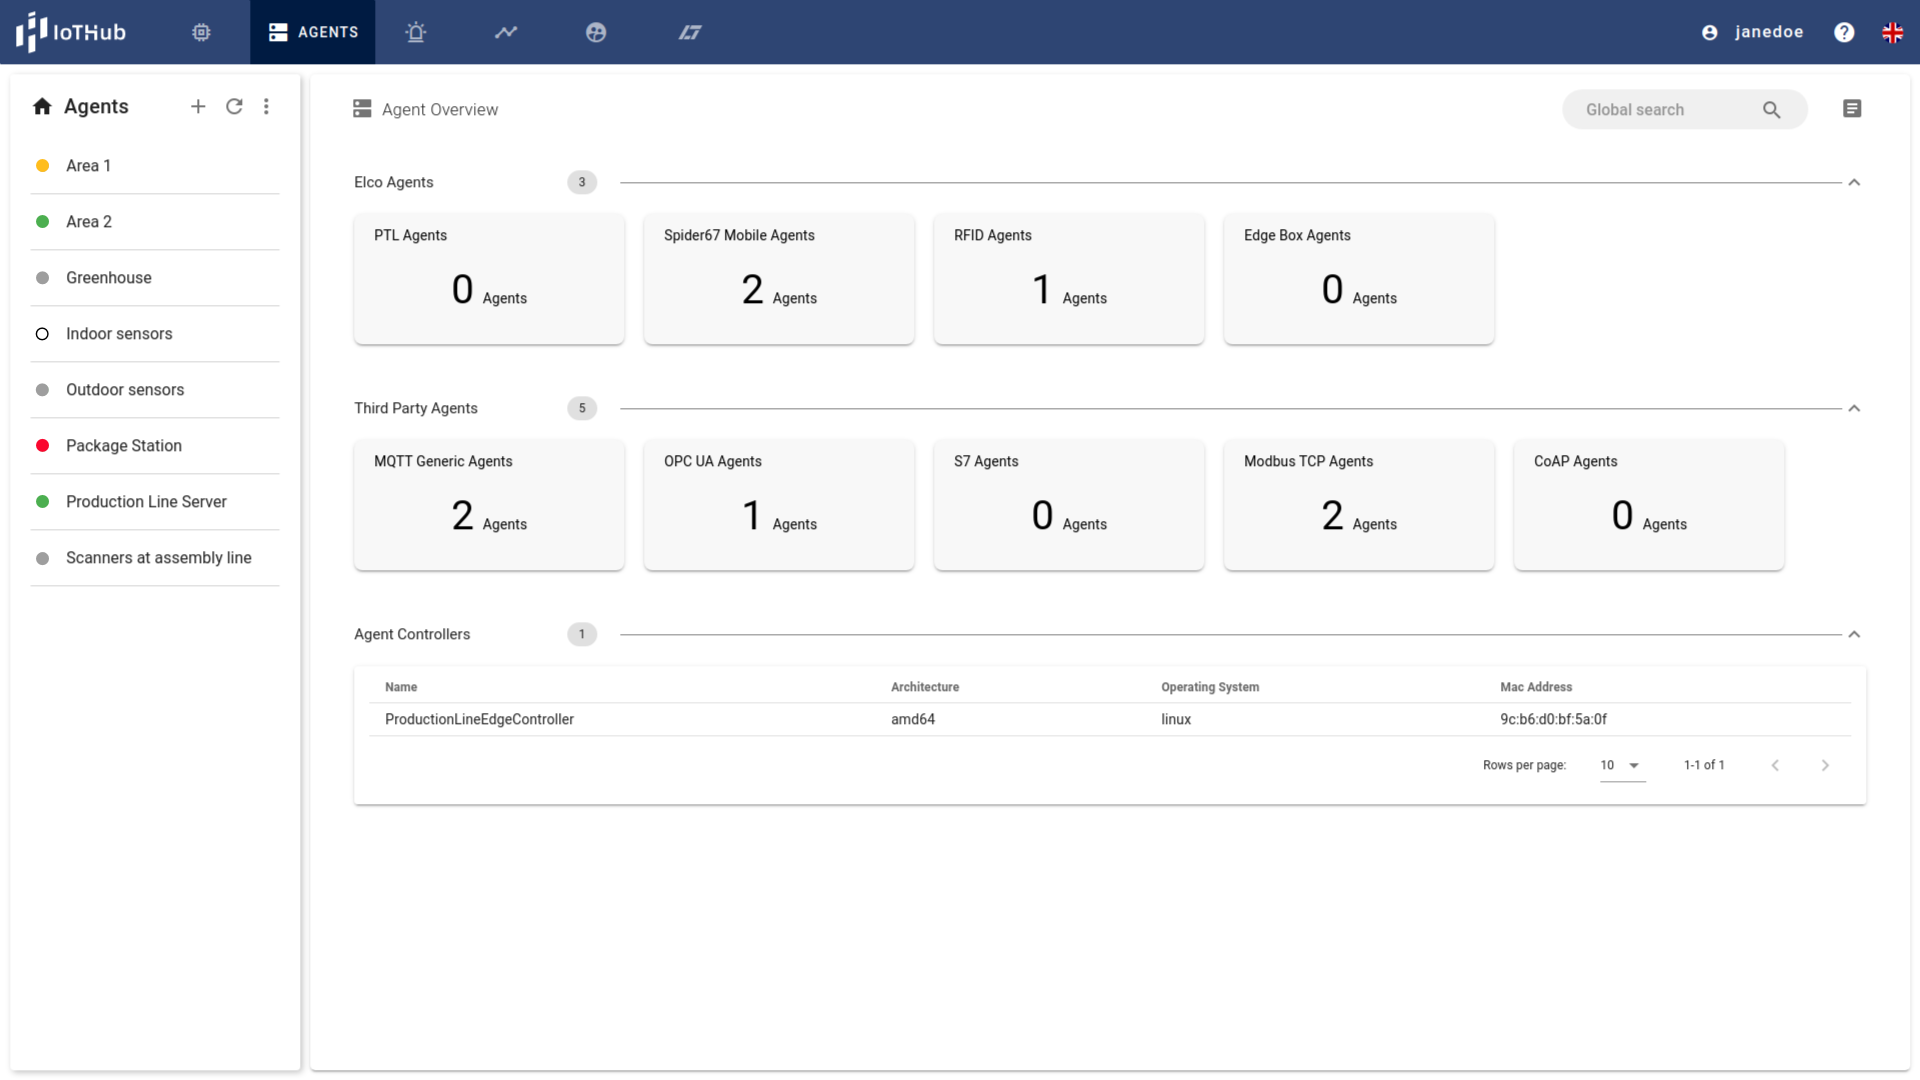
You get to the Agent Page by clicking on the Agent Icon on the Navigation Bar. The Agent Overview shows all Agent types with the number of Agents per technology and a list of all Agent Controllers. On the left you can see a Sidebar with all Agent and the Agent Menu . There you can create, delete, search or sort Agents.
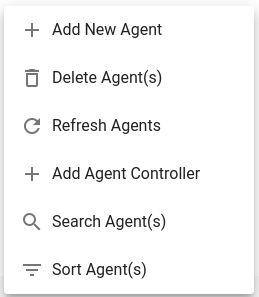
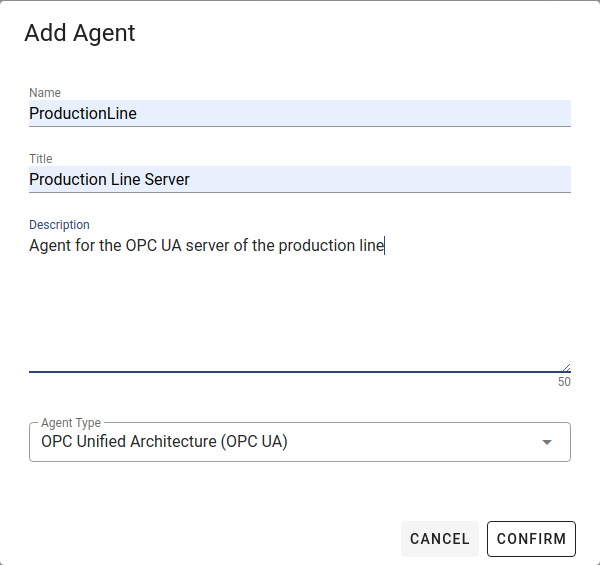
Creating an Agent
You can add a new Agent by clicking on . A dialog opens where you can specify a Name (no spaces allowed), Title (optional), Description (optional) and the Agent type.
Agent Details
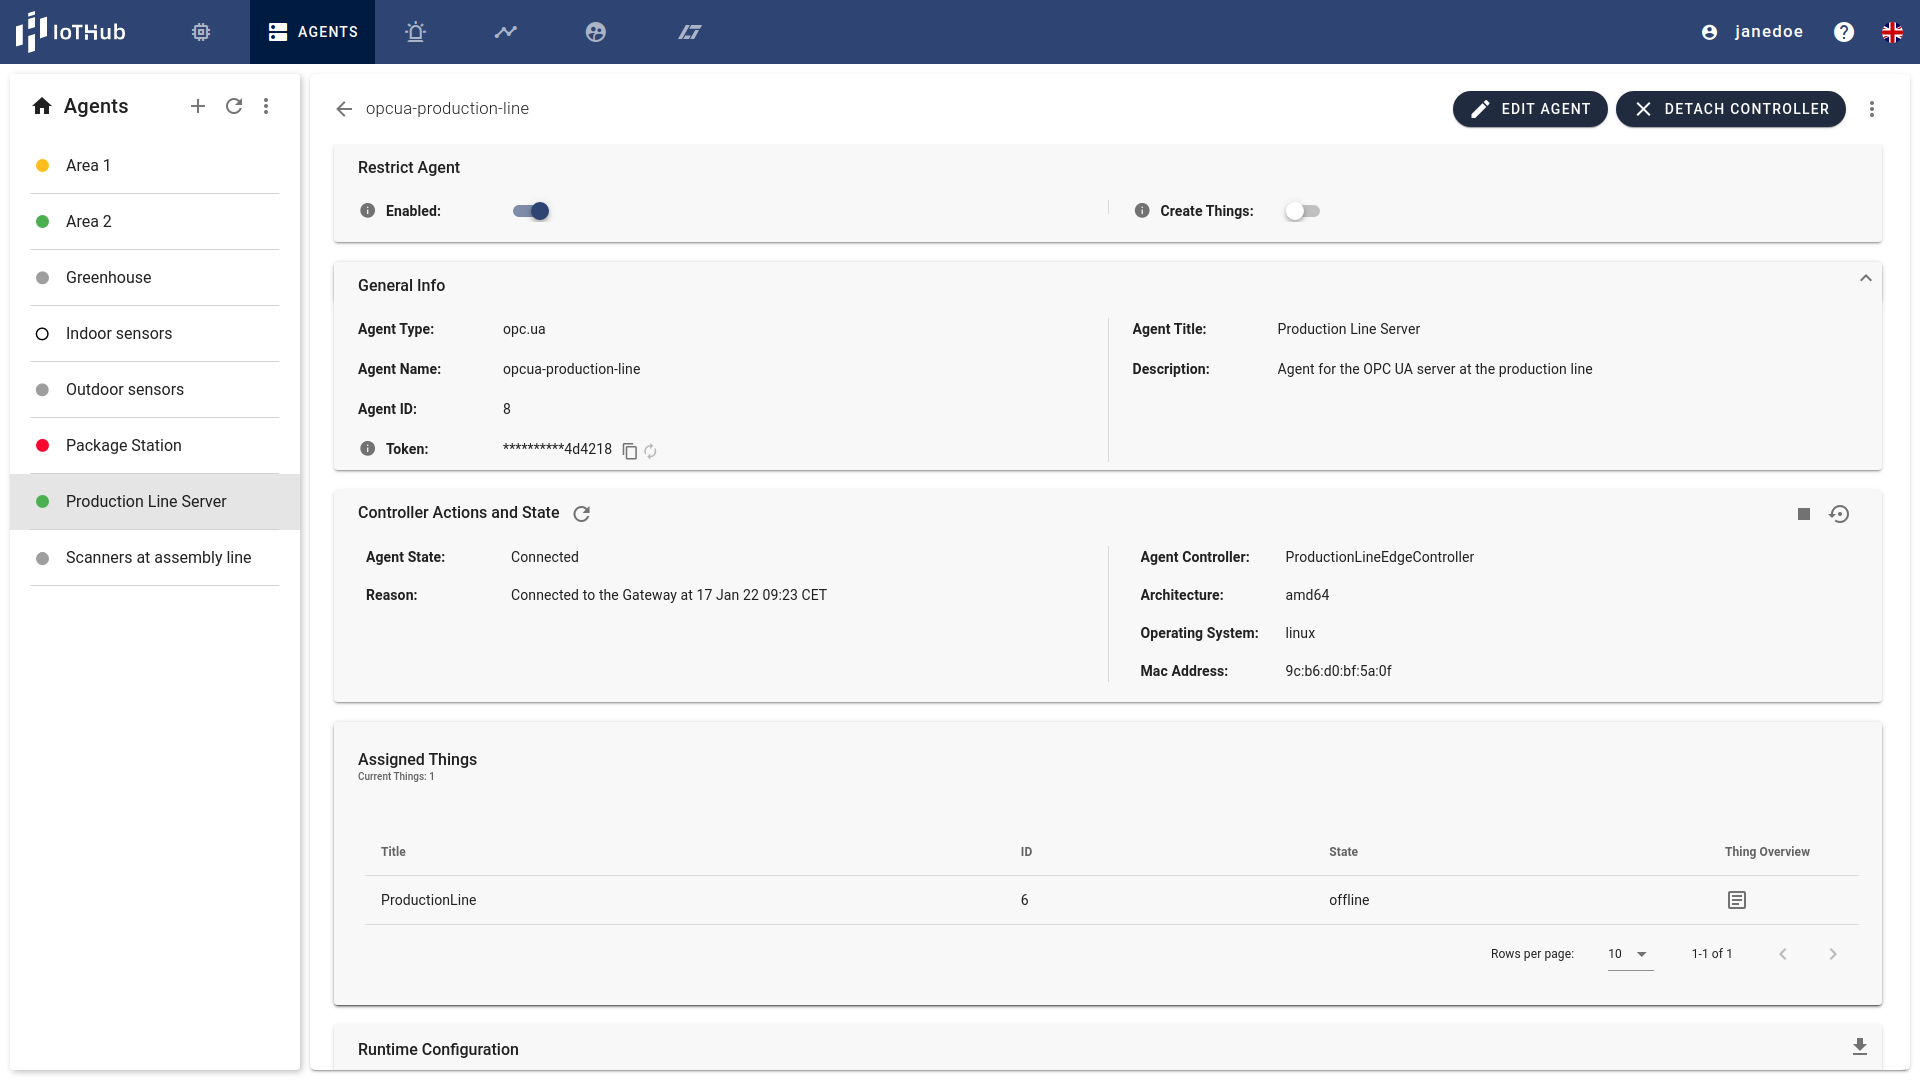
Navigate to your Agent by clicking the Agent in the left sidebar. The detailed Information about the Agent will open on the right side.
Assign or remove Things from an Agent
You can edit the assigned Things by activating the edit mode by clicking EDIT AGENT on the top right. Then, go to the Thing assignment panel and select all Things that you want to assign to the current Agent. To apply the changes click SAVE CHANGES. Deselecting the Thing removes it from the Agent. Just unselect the Things that should be removed.
Please, note that one Thing can not be assigned to multiple Agents and by removing an Agent, the Things assigned to it will not be removed automatically. You can either assign these Things to another Agent or remove them individually.
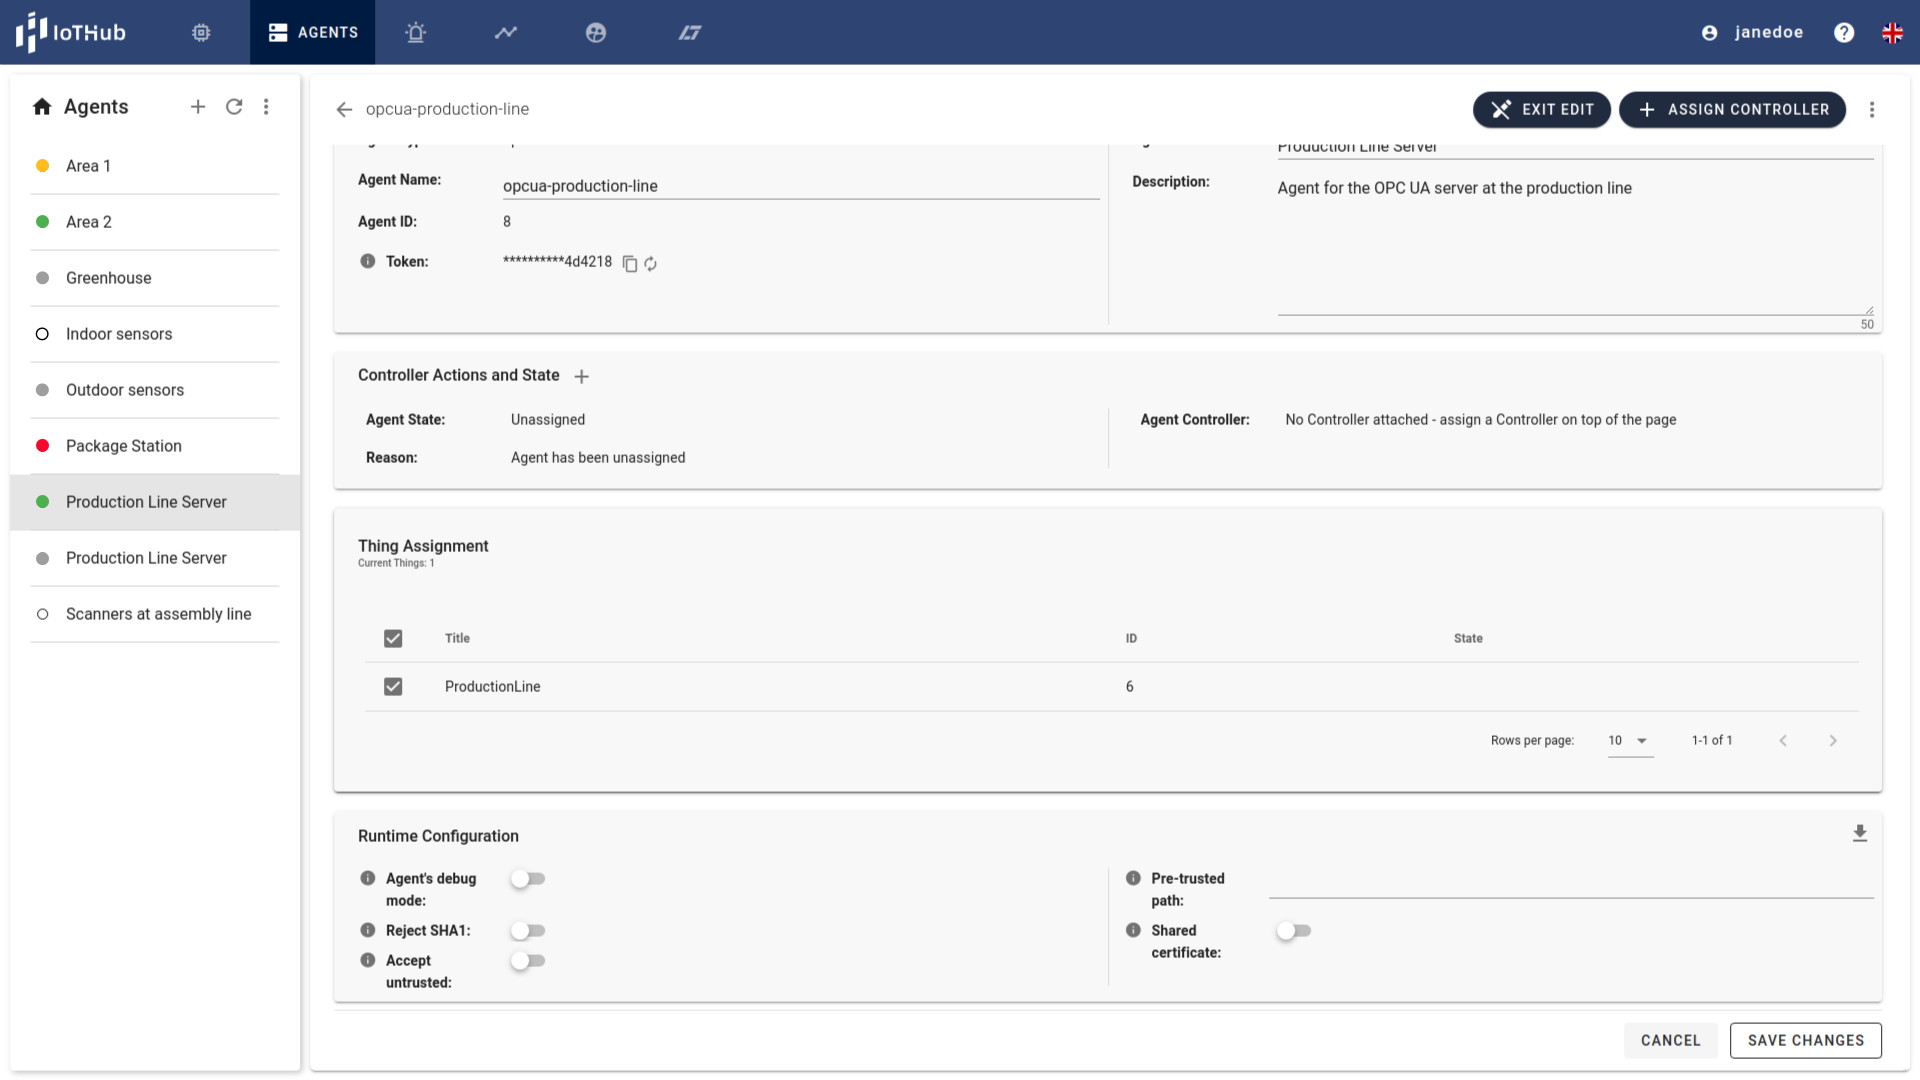
Agent Controller
The Agent Controller Box shows the current state of the Agent and is used to start, stop and restart it.
TIP
An Agent Controller needs to be launched first and connected to the IoTHub, see Managing Agent Controllers and Starting Controller for more information.
Assigning a new Controller
You can only assign an Agent Controller if you already created one. The Button won't show up if you do not have any Controllers. Click on the Assign Agent Controller on the top of the page. A dialog opens where you can select the Agent Controller from the list of available Agent Controllers. This button is only available when controllers are connected to the IoTHub Gateway.
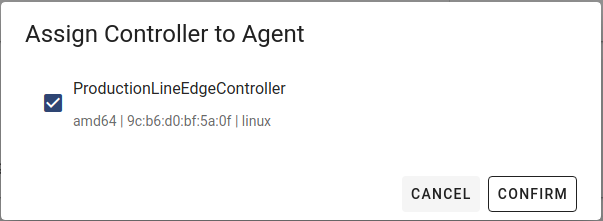
After the Agent Controller is assigned, you can install the Agent via the Agent Controller. The Icon on the top right of the Agent Controller Panel will download the Agent.

After the Agent Controller is assigned, you can install the Agent. After a few seconds, the Agent should be installed. The general Process with an Agent Controller is as follows:
Below you can see the typical Agent states when working with Agent Controllers
Start an Agent without an Agent Controller
You do not need to an Agent Controller to get an Agent up and running. You can also just download the binaries yourself and start it via the command line. You can find a more detailed Information about that inside the Agents Documentation
Agent Runtime Configuration
The Agent runtime configuration contains the Agent specific configuration arguments for running an Agent. It can be edited in the Agent edit mode.
By setting the runtime configuration of an Agent that is attached to an Agent controller the Agent is automatically configured. Setting the runtime configuration can also be used to generate a configuration file (in YAML format) for running standalone Agents. To download the configuration file either click on the download button on the right side of the runtime configuration or use the Agent menu (click on 'Get Agent Configuration' ').
Agent Logs
Every Agent produces records of events that happen while it's running (e.g. established connections, errors). These logs can be downloaded via the Agent menu by clicking 'Get Agent Logs ' after an Agent has been started once. The logs remain available even after the Agent has been stopped.